

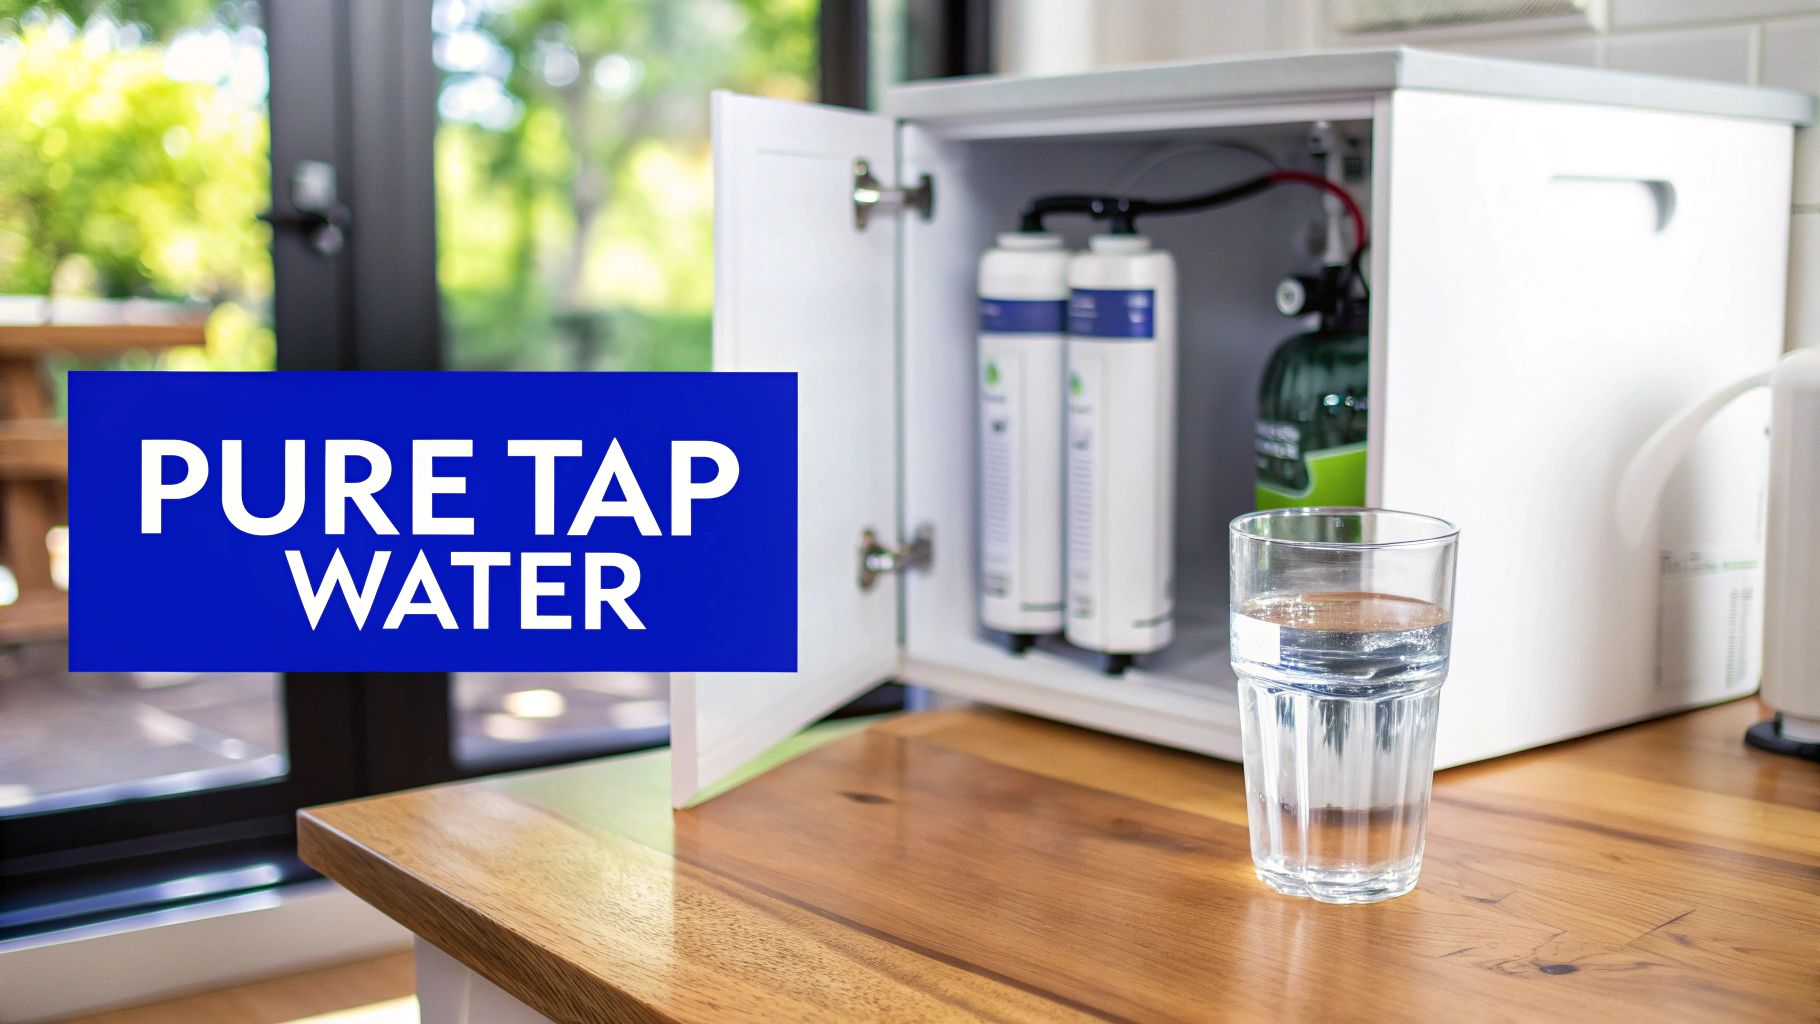
Deciding to install an undersink water filter is one of the smartest upgrades you can make to your Aussie home. You get a constant stream of pure, clean water right from your kitchen tap. This isn't just about making your water taste better; it's about the peace of mind that comes from knowing you're removing common contaminants, keeping your family healthy and well.
Why Install an Undersink Water Filter in Your Home?
Before you even think about grabbing your tools, let’s talk about why this simple home improvement project delivers such a massive return. For most people, the first motivation is simple: getting rid of that distinct chlorine taste you find in a lot of municipal tap water. But the benefits go so much deeper than that.
A quality undersink system is your frontline defence against a whole range of unwanted nasties that can find their way into your water supply. And the best part? These systems are tucked neatly out of sight, so you don't lose precious counter space to bulky pitchers or countertop units.
The Real-World Advantages
The sheer convenience of having filtered water on tap is a total game-changer. No more refilling those annoying filter jugs and waiting for the water to slowly drip through. With a dedicated tap, pure water for drinking, cooking, and washing veggies is instantly available. It’s a small change that genuinely simplifies your day and encourages everyone in the house to drink more water.
Then there's the financial and environmental angle. The ongoing cost of bottled water really adds up, and the single-use plastic waste is a huge problem. An undersink filter is a far more sustainable and budget-friendly solution in the long run.
By filtering water right where you use it, you dramatically cut down on single-use plastics and gain real confidence in the quality of the water your family consumes every single day.
A Growing Trend in Australian Homes
This move towards better water quality at home isn't just a niche interest anymore; it's a rapidly growing movement across the country. The water purifier market in Australia was valued at around USD 193.23 million back in 2023, and it's projected to climb to USD 260.76 million by 2029.
Undersink systems are a hugely popular choice in this market, driven by Aussie families becoming more and more health-conscious. It’s clear that people are waking up to the benefits.
At the end of the day, an undersink water filter installation is a solid investment in your home's functionality and your family's health. You can learn more about the specific benefits of under sink filtration systems and how they work in our comprehensive guide.
Your Toolkit for a Smooth Installation
Any seasoned DIY-er will tell you that a successful project starts long before you touch a single pipe. Getting your tools and parts lined up and ready to go is the secret to avoiding that frustrating, mid-job dash to the hardware shop—usually right after you’ve shut the main water valve off.
Think of it like a chef prepping their ingredients. Everything is in its place before the real work begins.
Most filter kits come packed with the essential filter heads, cartridges, and tubing, but they don’t include the hand tools you'll need to get the job done. Preparation is everything. This principle holds true for any DIY project, and it’s always smart to see how pros approach similar tasks by understanding essential repair kits for other jobs around the house. Having the right gear on hand not only speeds things up but drastically cuts down the risk of leaks or damage.
For example, a proper tube cutter gives you a perfectly clean, square edge on your water lines. This is absolutely critical for creating a watertight seal with modern push-fit connectors. A wonky cut made with a knife just won't do.
The Essential Toolkit for Undersink Filter Installation
Before you even think about crawling under the sink, take a moment to gather these essentials. Having them within arm's reach will make the entire process feel less like a chore and more like a satisfying achievement. You’ll thank yourself later when you're not fumbling around in a cramped, dark cabinet.
Here’s a practical checklist of what you'll need to have on hand.
| Tool/Material | Primary Use | Pro Tip |
|---|---|---|
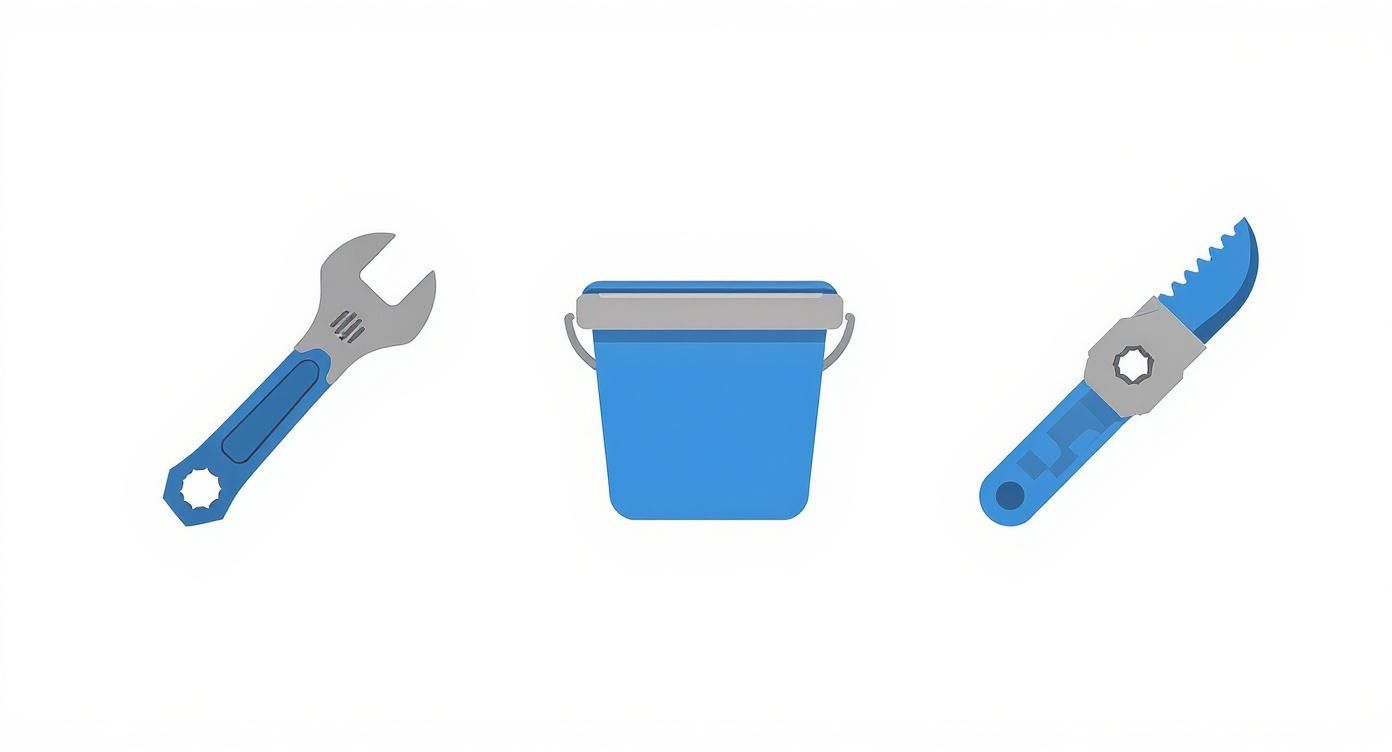
| Adjustable Wrenches (x2) | Tightening and loosening fittings. | Use one wrench to hold the fitting steady and the other to turn the nut. This prevents straining your existing plumbing. |
| Bucket & Old Towels | Catching water spills. | There will be drips when you disconnect the cold water line. A bucket underneath and towels on the floor are non-negotiable. |
| Tube Cutter | Cutting plastic water lines cleanly. | This guarantees a square cut, which is essential for a leak-free push-fit connection. Don't use scissors or a knife. |
| Drill with Assorted Bits | Creating a hole for the filter tap. | You'll need this if your sink doesn't have a spare hole. Make sure you have the right bit for your benchtop (e.g., a diamond hole saw for granite). |
| Headlamp or Torch | Lighting up your workspace. | It’s dark under there! A headlamp is best as it keeps both of your hands free so you can see exactly what you're doing. |
This simple setup covers the basics for a smooth, professional-looking installation without any last-minute surprises.
The Secret Weapons for a Professional Finish
Beyond the absolute must-haves, there are a couple of inexpensive items that can truly elevate your work from an amateur attempt to a pro-quality job.
Pro Tip: Never underestimate the power of thread seal tape (also called plumber's tape). A few wraps around any male threaded connections will be your best insurance policy against slow, annoying drips down the road.
This simple tape does two things: it lubricates the threads for a tighter connection and fills any tiny, microscopic gaps that could cause a leak. It’s a tiny detail that makes a massive difference.
And if your plumbing setup feels a bit tricky, the Awesome Water Quick Fit Kit can be a real game-changer. It’s designed to simplify the connections, turning what could be a complex task into a much more straightforward D.I.Y. project. Getting these little details right is what a successful undersink water filter installation is all about.
Connecting Your New Water Filter System
Alright, this is where the magic happens. We’ve done the prep work, and now it’s time to get hands-on and bring all the components together. This is the core of the installation, and I’ll walk you through it so you feel confident at every turn, from shutting off the water to making that final leak-free connection.
The biggest mistake I see people make is rushing this part. Take your time and double-check everything as you go. A secure, dry fit is what we’re aiming for, and a little patience now saves a lot of headaches later.
Isolating the Cold Water Supply
First things first, you can't work on plumbing with the water on. Find the cold water line that feeds your kitchen tap. You’re looking for a small valve on the pipe coming out of the wall, usually with a little chrome or plastic handle. That’s your angle stop valve.
Turn the handle clockwise all the way until it stops. Don’t go overboard with force, just make sure it’s snug and fully closed. Now, head back to the sink and turn the cold tap on. You'll get a bit of water for a few seconds as the pressure releases, and then it should stop completely. That's how you know you're good to go.
This simple step ensures you can work without any surprise showers under the sink.
Having these essentials handy makes the whole connection process run much smoother.
Installing the T-Valve Connector
The T-valve, or diverter valve, is the heart of this whole setup. It’s a small but crucial piece that cleverly splits your cold water supply, sending it to both your regular tap and your brand-new filter.
Grab your adjustable wrench and carefully unscrew the flexible hose that connects the angle stop valve to your kitchen tap. Keep that bucket and a few towels close by, because there will always be a few drips. With the hose off, you can now screw the T-valve directly onto the thread of the angle stop valve.
Crucial Tip: Always start by hand-tightening the T-valve. This helps you feel for the threads and make sure they’re aligned properly, preventing cross-threading. Once it's on, give it a gentle quarter-turn with the wrench to seal the deal. Overtightening is a classic rookie error that can crack the fitting or damage the washer inside, causing a leak you really don't want.
Now, simply reconnect the flexible tap hose to the top outlet of the T-valve. The side outlet is reserved for the tubing that will run to your filter system. Just like that, you’ve integrated the filter into your existing plumbing.
Mounting the Filter Housing and Faucet
Think ahead when deciding where to mount the filter housing. You’ll need to get in here to change the cartridges down the track, so easy access is key. Hold the unit up in a few different spots under the sink to find a location that works, making sure you still have room for your cleaning supplies.
Once you've picked the perfect spot on the cabinet wall, mark the screw holes with a pencil. Drill some small pilot holes first, then secure the mounting bracket firmly with the screws provided in your kit.
Next up is the new filter faucet. If your sink or benchtop has a spare hole (often covered by a little cap), you've hit the jackpot. If not, you'll need to drill one.
- Stainless Steel Sinks: A standard hole saw bit designed for metal will cut through this easily.
- Stone or Composite Benchtops: This is a more delicate job and requires a specialised diamond hole saw. Drilling stone is all about patience; you need to go slowly and use water to keep the bit cool to prevent cracks. Rushing here can be a very expensive mistake.
With the hole ready, feed the faucet's threaded stem through it and tighten it from underneath with the supplied washer and nut until it’s secure.
Making the Final Tube Connections
With everything mounted, it's time to connect the dots using the supplied tubing. A good tube cutter is your best friend here, as it makes clean, square cuts that are essential for creating a leak-proof seal.
- Inlet Connection: Measure and cut a piece of tubing to connect the T-valve's side outlet to the port marked "IN" on your filter housing. Push the tube firmly into the push-fit connector until you feel a distinct click.
- Outlet Connection: Cut another length of tubing to run from the filter’s "OUT" port up to the base of your newly installed filter faucet.
- Secure the Lines: Give each tube a gentle tug to make sure it's locked in place. A loose connection is a guaranteed leak waiting to happen.
By following these steps carefully, you’ll end up with a setup that’s as good as any professional job. If you're after a complete package with everything you need right out of the box, our popular 3-Stage Under Sink Water Kit includes all these components for a totally seamless installation.
With all the connections made, you're on the home stretch and ready for the final checks.
The Final Checks to Prevent Leaks
You’ve made the connections, you've mounted the hardware, and the finish line is in sight. But hold on—this last part is probably the most critical step of the entire job. It’s where you double-check your handiwork to make sure everything is rock-solid, secure, and completely leak-proof.
It’s tempting to rush through these final checks, but that’s how slow drips start and go unnoticed for weeks. A few extra minutes here will give you total peace of mind and separate a good DIY job from a great one.
Slowly Turning the Water Back On
Whatever you do, don't just crank the angle stop valve wide open. This can trigger a "water hammer," a sudden pressure shock that puts a huge amount of stress on all the new seals and connections you just made. It's a rookie mistake, and it can cause instant leaks.
The right way is to go slow. Turn the handle on the angle stop valve counter-clockwise just a quarter of a turn. You'll hear the pipes start to fill. Stop right there. Just listen for a moment. Any unusual hissing sounds are a red flag, pointing to a poor seal that needs immediate attention.
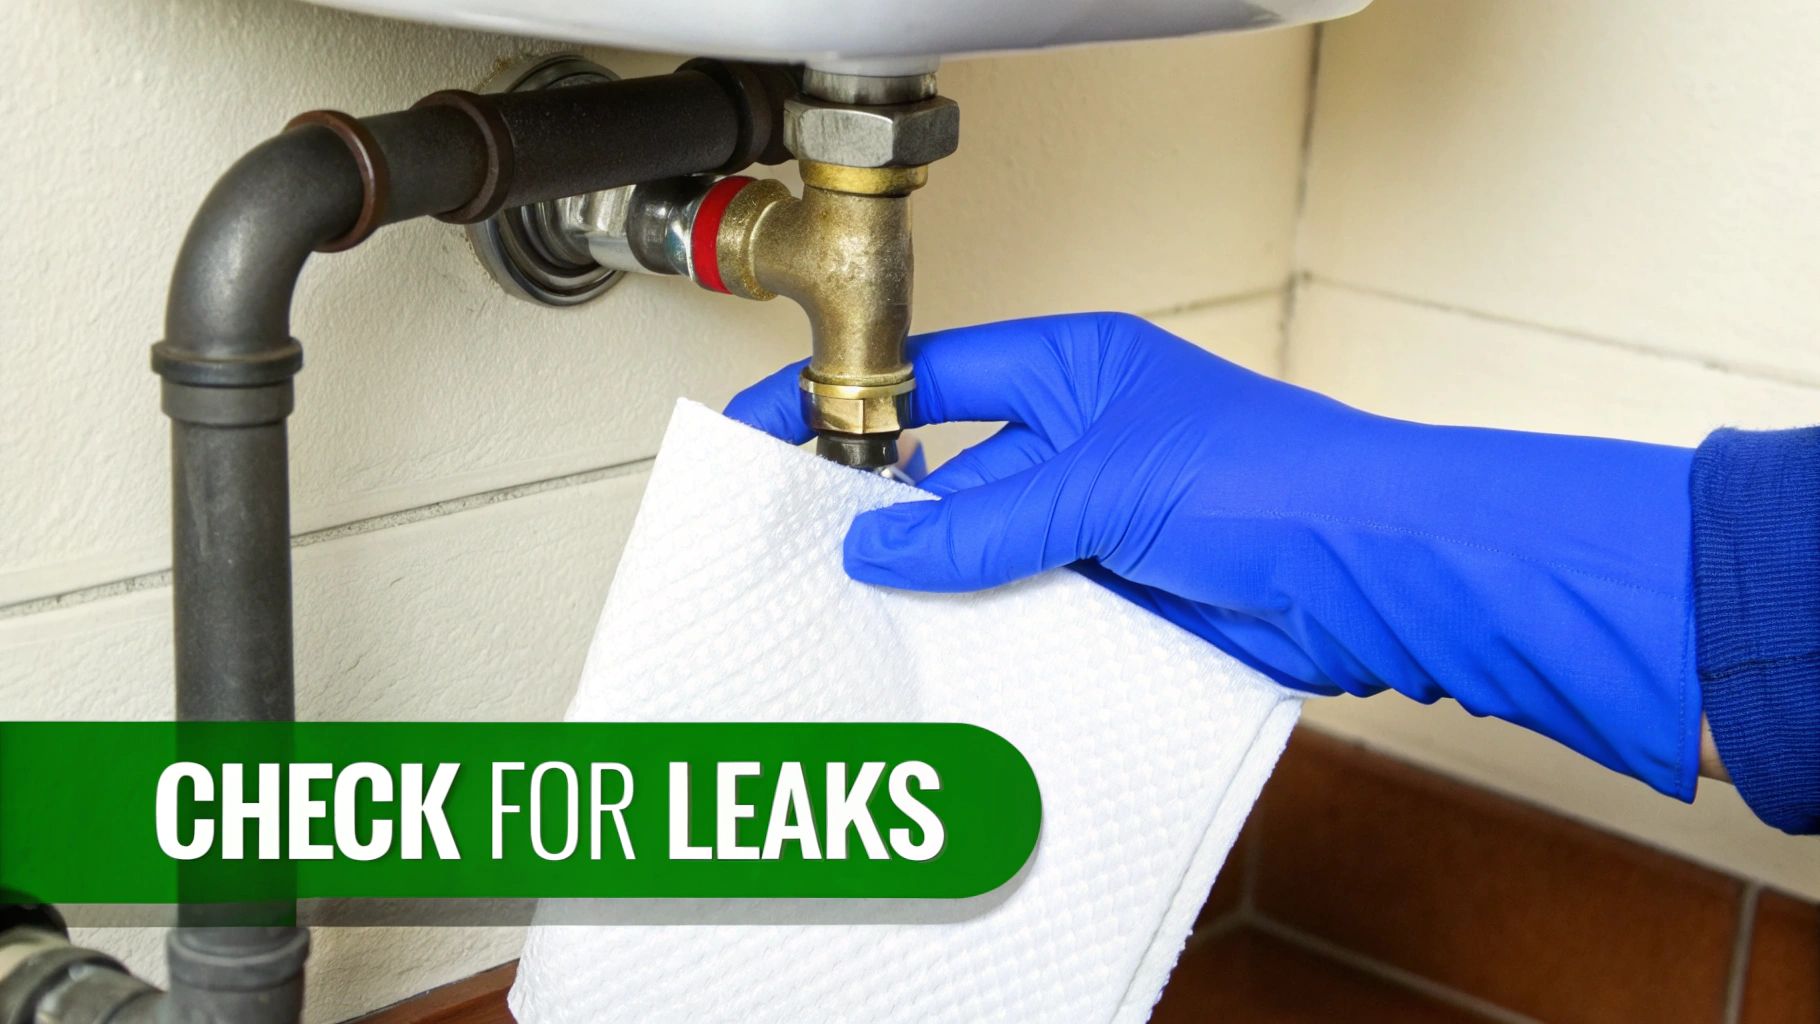
The Meticulous Leak Inspection
Now that there’s a bit of pressure in the system, it's time to become a leak detective. The best trick is to use a dry paper towel. The white paper will show even the tiniest bead of moisture instantly, far better than just looking or feeling with your fingers.
Grab your paper towel or a torch and meticulously inspect every single connection point you touched.
Your checklist should look like this:
- The T-Valve: Check where it connects to the main cold water line and where the flexible tap hose connects back onto it.
- Filter Housing Connections: Look closely at the "IN" and "OUT" ports where you pushed the tubing into the filter unit itself.
- Faucet Line: Run the paper towel along the entire length of the tube going up to your new filter faucet, especially at the connection point underneath.
If everything stays bone dry for a few minutes, you’re good to open the angle stop valve the rest of the way. Once it’s fully open, do one last, thorough check of all those same points. The system is now under full pressure, which can reveal tiny leaks that weren't visible before.
A slow, almost invisible drip is the number one problem after a new installation. Don't skip this final inspection under full pressure. A tiny leak might seem harmless, but over time it can cause serious damage to your kitchen cabinets.
It's always a good idea for homeowners to know what to do if the unexpected happens. Understanding how to manage potential home insurance claims is a valuable skill that offers extra protection.
Priming and Flushing the New Filters
The very last step is flushing the brand-new filter cartridges. This is essential to prime them and, more importantly, to clear out any loose carbon fines. This is the harmless, blackish dust you might see in the first glass of water. While perfectly safe, it can make the water look a bit cloudy.
Simply turn on your new filter faucet and let it run for a solid five minutes, or for however long the manufacturer's instructions recommend. The water might sputter and look greyish at first—that's completely normal. Soon enough, it will run perfectly clear.
Once it's running clear, you're done. Congratulations, your installation is complete!
If you hit any snags or have questions during these final steps, our Awesome Water help line and repair manual has plenty of detailed troubleshooting tips.
Maintaining Your System for Lasting Performance
You’ve installed your under-sink water filter, which is fantastic. But the job isn’t quite done yet. A little bit of routine care is all it takes to make sure your system keeps delivering that pure, great-tasting water for years to come. Think of it less as a chore and more as simple upkeep for a valuable home appliance.
The single most important maintenance task is swapping out the filter cartridges on schedule. This isn't just about ticking a box on a calendar; it’s about ensuring the filter continues to perform at its peak, grabbing all the contaminants it was designed to capture.
Knowing When to Change Your Filters
Your filter's manual will give you a ballpark figure for replacement, usually every six to twelve months. But from my experience, the real-world signs are often a better guide.
The most obvious clue is a noticeable drop in water pressure from the dedicated filter tap. When the water starts to trickle out instead of flowing freely, that’s a clear signal the filter is getting clogged with all the sediment and gunk it has trapped.
Another tell-tale sign is a change in the taste or smell of your water. If that familiar chlorine tang starts creeping back in, you know the activated carbon in your filter has done its job and is ready to be retired.
A simple pro-tip I always share is to keep a log. Just grab a permanent marker and write the installation date or the date of the last change directly on the filter housing. This completely removes the guesswork and ensures you never forget.
The Filter Change Process
Swapping out old cartridges is a quick and straightforward job you can easily tackle yourself. The whole process is designed to be pretty mess-free if you follow a few simple steps.
- Shut Off the Water: First things first, turn off the angle stop valve that feeds your filter system.
- Relieve the Pressure: Open the filter faucet to let any remaining water drain out from the lines. It's a small but important step.
- Unscrew the Housings: Pop a towel underneath to catch any stray drips, then use the wrench that came with your kit to unscrew the filter sumps.
- Swap and Reseal: Replace the old cartridges with the new ones. Pay close attention to the O-rings—make sure they’re correctly seated and lubricated to get that perfect, leak-free seal.
- Re-Pressurise Slowly: Turn the water back on gradually. Check for any leaks before you fully open the valve.
For a more detailed walkthrough, we've put together a great guide on how to maintain a water filter to prolong its life right here on our blog.
The demand for reliable home water purification is definitely on the rise. In fact, the Australian water purifier market is projected to grow at a compound annual growth rate (CAGR) of 7.9% between 2024 and 2032. This growth is largely driven by systems like Reverse Osmosis (RO) filters, which are incredibly effective at removing the heavy metals and salts that are common concerns in Australian tap water.
And if you ever hear any strange gurgling or knocking noises, don't panic. It's usually just trapped air. Simply run the filter tap for a few minutes, and that should purge the air right out of the system. A little consistent upkeep ensures your investment continues to pay dividends in both health and taste.
Got Questions About Your New Undersink Filter?
Even after a smooth installation, it's completely normal to have a few questions rattling around. Let's walk through some of the most common queries we hear from homeowners, so you can feel 100% confident with your new system.
Do I Need a Plumber for This?
This is easily the biggest question we get. In Australia, the rules can differ a bit from state to state. But generally speaking, if you're just connecting a pre-packaged kit to your existing cold water line with the supplied T-valve, it’s usually considered a DIY job.
However, the moment you need to alter the permanent plumbing—like cutting pipes or installing new fittings—you absolutely need to call in a licensed professional. It’s not worth the risk.
When Do I Change the Filters?
Another popular question is about filter changes. Your manufacturer will give you a guideline, typically somewhere between 6 to 12 months, but the real answer depends on your household's water usage.
Your system will give you a couple of clear signs it’s time for a swap:
- You'll notice the water flow from the dedicated filter tap starts to slow down.
- The taste of the water changes, maybe with that familiar chlorine tang creeping back in.
Will It Work With My Existing Kitchen Tap?
People often ask if they can hook the filter up to their main kitchen tap. The answer is no—an undersink system needs its own separate, dedicated faucet, which almost all good kits include. This is actually a smart design, as it means you’re only filtering the water you use for drinking and cooking, which makes your filter cartridges last much, much longer.
One thing that often trips people up is the difference between a standard undersink filter and a reverse osmosis (RO) system. Your typical filter is fantastic for getting rid of chlorine, sediment, and bad smells. An RO system, on the other hand, is a much more intensive process that strips out almost everything, including dissolved salts and minerals.
Knowing this difference is key, especially as the all-in-one under-sink water purifier market keeps expanding. It was valued globally at USD 635.2 million back in 2025 and is tipped to reach USD 1,095.4 million by 2035. With residential systems making up about 58% of that demand, it's clear homeowners are taking filtration seriously. You can dive deeper into these market growth trends to see where things are headed. Understanding what your system can—and can't—do ensures you’ve got the right setup for your family.
For a reliable, high-performance filtration solution tailored for Australian homes, explore the full range from Awesome Water® at https://www.awesomewater.com.