

When it comes to your water filter, simply marking a date on the calendar isn't enough. The real story of your filter's health is told by the water itself. Paying attention to its taste, the flow rate from your tap, and even its clarity are the most reliable ways to know it’s time for a change.
Knowing When to Replace Your Water Filter Cartridge
Letting a filter replacement slide isn't just a minor oversight—it has a direct impact on the quality of every glass of water you drink. While most manufacturers suggest a general six-month timeline, your actual usage and local water conditions are far better guides. The best way to guarantee your water stays clean and healthy is to simply pay attention to its daily performance.
The push for clean, reliable drinking water has made filtration systems a staple in many Australian homes. It's a growing priority, with the Australian water purifier market valued at around USD 1,196 million in 2024 and projected to more than double by 2033. This boom is fuelled by greater health awareness and the need for systems that can handle Australia’s diverse water sources, from treated city supplies to rainwater tanks.
Listen to Your Senses
Your own senses are your best tool here. The most obvious sign you need a new filter is a change in taste and smell. If that faint chlorine odour from your tap water starts creeping back in, it’s a clear signal that the activated carbon in your filter is maxed out and can no longer do its job. That’s your first and most important clue.
Next, think about water pressure. A filter clogged with sediment, rust, and other gunk will physically slow down the water flow. If your kitchen tap or water cooler seems a bit sluggish, that’s a strong sign the cartridge is at the end of its life and a water filter cartridge replacement is on the cards.
Visual Clues and Water Source Considerations
Sometimes, you can literally see the problem. If your water starts looking a bit cloudy or you spot tiny particles floating around, the filter has given up. For those with a system that has a clear housing, a quick peek can tell you everything—a dark, discoloured cartridge is a dead giveaway that it's time for a swap.
Where your water comes from also makes a huge difference. If you're on rainwater or bore water, you’ll almost certainly need to replace your filters more often than the standard six-month schedule. These sources tend to carry a lot more sediment and organic matter, which will clog up a filter much faster.
For a deep dive into just how important this is, check out our guide on what happens if you don't change your water filter.
To make things a bit easier, here’s a quick guide to help you stay on track.
Quick Reference for Filter Replacement Schedules
This table is a great starting point for understanding how often you should be changing the filters for common systems found in Australian homes. Remember, this is a guide—your water quality and usage are the ultimate decider.
| Filter System Type | Typical Replacement Schedule | Key Performance Indicators to Watch |
|---|---|---|
| Benchtop/Countertop | 6-12 months | Noticeable change in taste/odour; slower dispensing speed |
| Under-Sink System | 6-12 months (varies by stage) | Reduced water flow from the dedicated tap; return of chlorine taste |
| Inline Filters (e.g., for fridges) | 6 months | Ice tastes "off"; water dispenser flow is weak |
| Whole-House System | 3-6 months (sediment); 12+ months (carbon) | Drop in water pressure across the house; discoloured water |
| Water Coolers/Dispensers | 6 months | Water has a stale or plastic taste; dispenser flow slows down |
Ultimately, regular checks and being mindful of your water's quality will ensure you're always drinking the best-tasting, cleanest water possible.
Alright, let's get into the hands-on part. Swapping out a water filter cartridge isn't rocket science, but knowing the right moves for your specific system can mean the difference between a five-minute job and a frustrating, soggy mess.
Whether you have a simple benchtop unit or a more involved under-sink system, the core principles are always the same: shut off the water, release the pressure, and swap the old filter for the new one. Getting this right is key to making sure your system keeps delivering pure, great-tasting water without any surprise leaks.
We’ll walk through the most common setups you'll find in Australian homes and offices, with some practical tips I've picked up over the years to make the job go smoothly.
First, this simple flow chart shows what to look out for. Your senses are often the best guide.
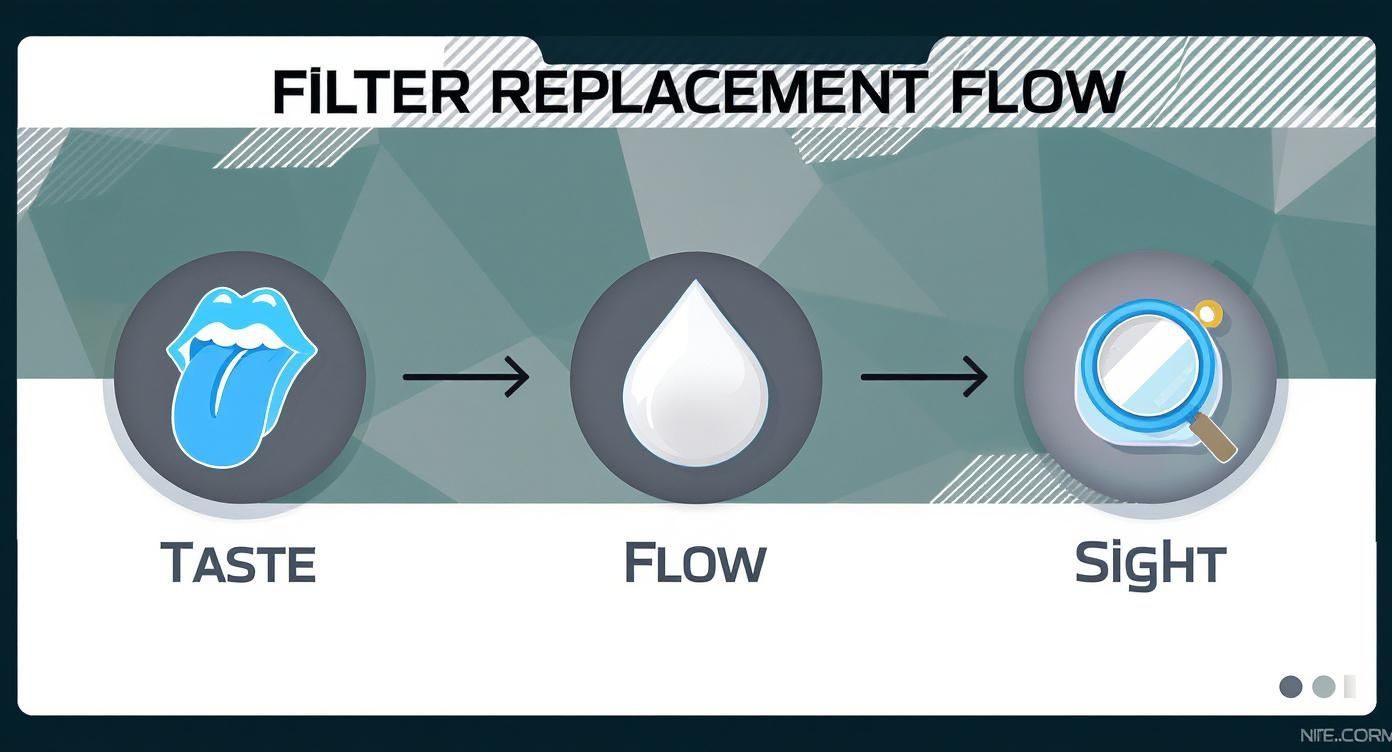
This really just highlights how changes in taste, a drop in water flow, and even what you can see are your most reliable indicators that it's time for a filter change.
Changing Benchtop And Water Cooler Filters
Good news—these are usually the easiest systems to manage. For most benchtop gravity-fed units or standard water coolers, you won’t even need to touch your home’s main water valve.
First up, empty the system. Lift the top bottle or reservoir off the unit and drain any leftover water using the taps. It’s always easier to do this when the water level is already low.
Next, you'll need to get to the cartridge. It’s typically sitting inside the main filtration chamber. You might need to unscrew a central dome or plate to access it.
Now, simply swap and reassemble. Unscrew the old filter, give the inside of the housing a quick wipe with a clean cloth, and then screw the new one in. Make sure it’s snug, but there's no need to overtighten it.
Finally—and this is important—flush the new filter. Before putting the main water bottle back on, fill the top chamber with tap water and let it run completely through the new filter. Tip this first batch of water out. This flushes away any harmless (but unappealing) carbon dust from the new cartridge.
A common mistake is skipping the flush. New activated carbon filters often release fine, black particles at first. Flushing ensures your first glass of water is crystal clear, not grey and gritty.
Replacing Under-Sink And Inline Filters
These systems are plumbed directly into your water line, so there are a few extra steps. Don't worry, it's still a very manageable job if you follow the process.
First things first, you absolutely must shut off the water supply. Look for the small shut-off valve on the cold water line that leads to your filter system. It’s usually a small T-piece with a lever—turn it to the "off" position.
Next, release the pressure in the system. Turn on the dedicated filter tap at your sink and just let it run until the water stops completely. This gets rid of the pressure in the lines so you don't get a surprise spray when you open the filter housing. If your system has a little red button on top of the housing, press it until you hear the hissing stop.
Now you’re ready to tackle the housing.
- Unscrewing the Housing: Pop a bucket or an old towel underneath to catch any drips. Use the filter housing spanner that came with your system, fitting it around the base of the housing and turning it anti-clockwise. They can be on there pretty tight, so use firm, steady pressure.
- The O-Ring Check: Once the housing is off, take out the old cartridge. Before you do anything else, check the black rubber O-ring at the top of the housing. Is it clean? Is it seated properly in its groove? A dry or misplaced O-ring is the number one cause of leaks after a filter change. A tiny bit of food-grade silicone grease on it works wonders.
- Install and Tighten: Pop the new cartridge in, then screw the housing back on by hand until it’s tight. Finish it off with a final quarter-turn with the spanner. Be careful here—overtightening can crack the housing and cause a real headache.
Lastly, slowly turn the water supply back on and watch carefully for any leaks around the housing seal. Let it sit for a few minutes just to be sure.
If you hit a snag or something doesn't seem right, our detailed guides on the Awesome Water Help Line and Repair Manual page have specific advice for different models.
Essential Tools and Safety Precautions
Changing a water filter cartridge is one of those simple home maintenance jobs that’s incredibly satisfying to do yourself. The good news? You definitely don't need a professional plumber's toolkit to get it done right. Most of the time, just a few basic items are all that stand between you and fresh, clean water.
Before you even think about twisting a filter housing, get your gear together first. Trust me, it makes the whole process smoother and saves you from scrambling for supplies mid-job with water dripping everywhere.
- Filter Housing Spanner: This is your most important tool. It should have come with your filter system. Trying to use anything else is a recipe for a cracked filter housing, and that's a headache you don't need.
- A Bucket and Old Towels: Let's be realistic—spills happen. Popping a bucket under the filter housing and having a few old towels on hand will contain the inevitable drips and prevent a soggy mess.
- Food-Grade Silicone Grease: Here’s a pro tip for you. A tiny dab of this on the O-ring doesn't just help create a perfect, leak-free seal; it also makes the housing much easier to open next time.
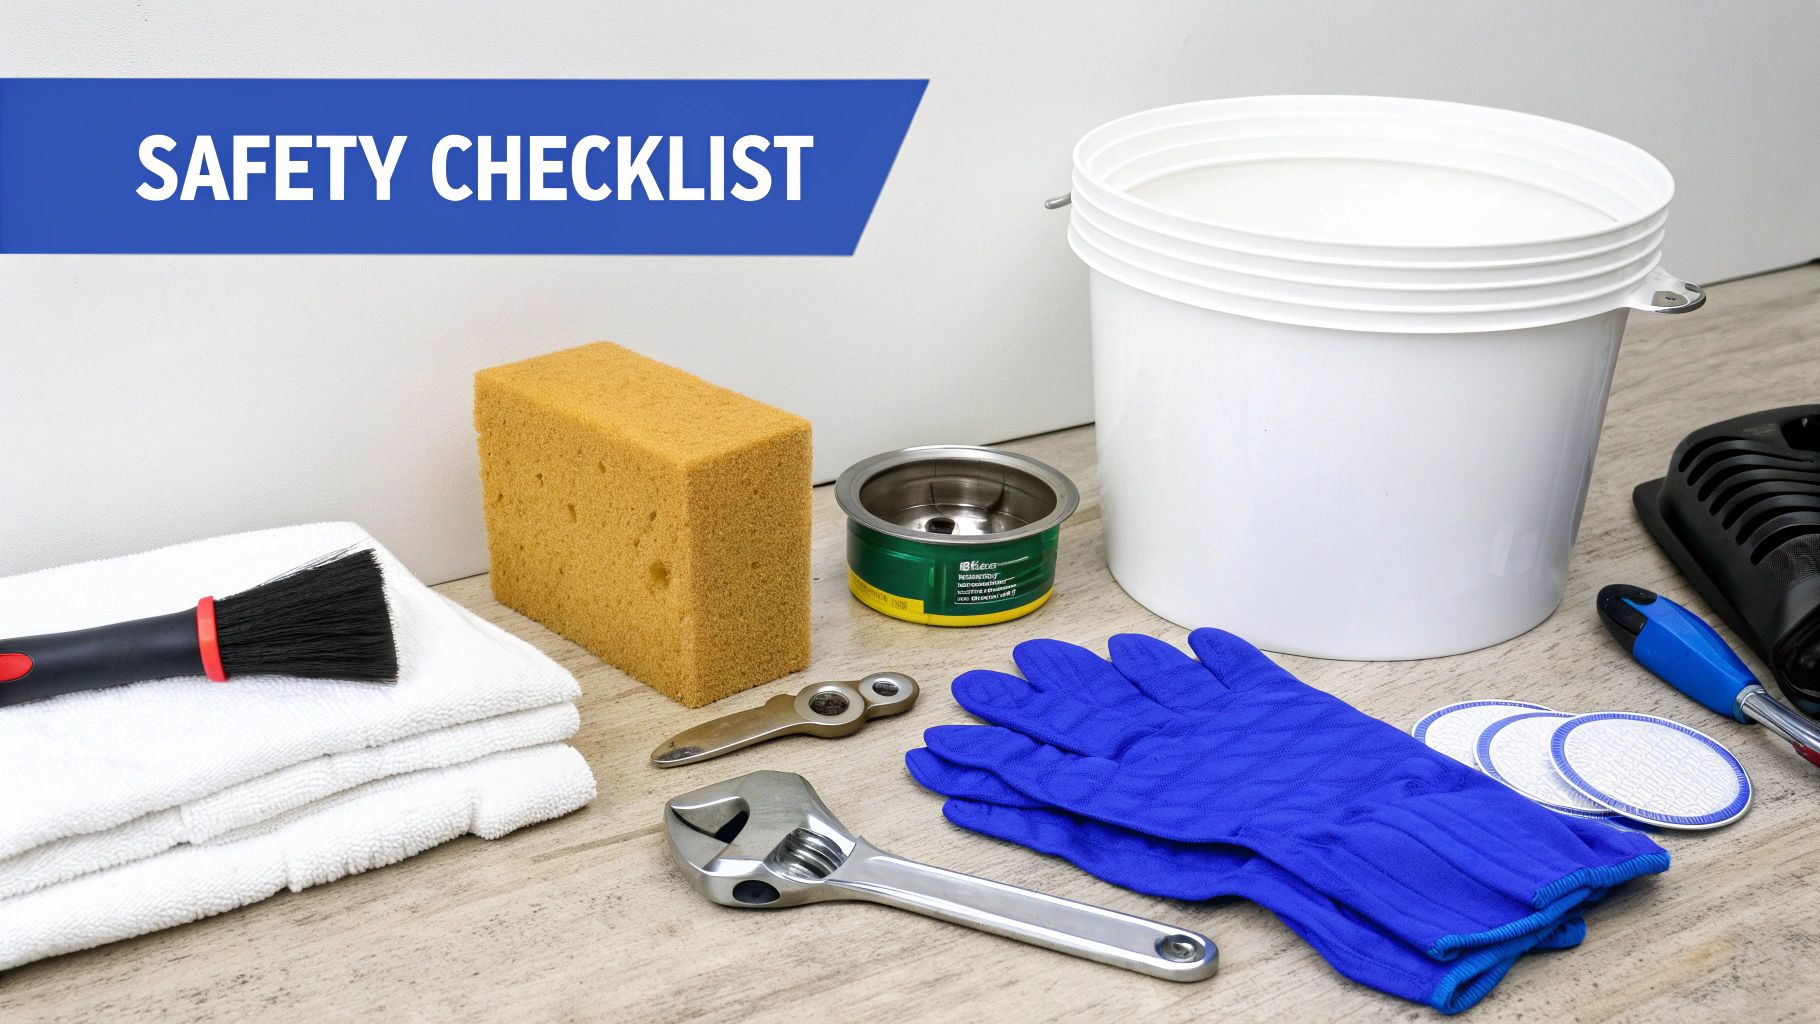
Your Safety Checklist Before You Begin
With your tools ready to go, it’s time to focus on safety. Rushing this part can easily lead to leaks or even a mini-flood under the sink, so take a minute to run through these crucial steps.
First and foremost, you have to isolate the water supply. Find the shut-off valve for your filter system—it's usually a small lever on the cold water line—and turn it completely off. No exceptions.
Next, you need to release the system's pressure. Just open the dedicated filter tap and let it run until the water slows to a trickle and stops. This simple step prevents a surprisingly powerful jet of water from spraying you the moment you loosen the housing.
A pressurised filter housing can be tough to open and will absolutely spray water everywhere once that seal breaks. Releasing the pressure first makes the entire process safer, cleaner, and a whole lot less dramatic.
Once you’ve popped the new cartridge in, turn the water back on slowly. Keep a close eye on the housing and all the connections for at least five minutes to check for any drips. Even a slow leak can cause serious water damage over time, so this final check is non-negotiable.
If your system is connected to a power source, like many water coolers or chillers are, always unplug the unit from the wall before you start. It’s a simple step that removes any electrical risk. For an even easier setup, you could explore options like the Awesome Water® Quick Fit Kit, which is designed to make installation and maintenance a breeze.
Finding the Right Replacement Cartridge for Your System
Getting the right replacement cartridge for your filter isn't just a good idea—it's absolutely critical if you want your system to work properly. Trying to use the wrong size or type is a recipe for poor filtration, annoying leaks, and can even damage the unit itself. The water filter cartridge replacement process is your most important maintenance task.
Think of it like this: your filter system is a precision-engineered lock, and the cartridge is its key. Only the key that was specifically designed for it will open the door to clean, filtered water. A generic or poorly-fitting cartridge might seem to click into place, but it often fails to create the perfect seal needed to force water through the filter media. Instead, water just sneaks around it, taking contaminants along for the ride.
How to Identify Your Cartridge
The good news is you don’t need to be a water filtration expert to figure out what you need. The first step is simply identifying what you already have. Most of the time, the clues are right there in front of you.
- Check the Label: Take a look at the old filter. There’s usually a sticker on it with a model number, part number, or a specific name.
- Inspect the Housing: Sometimes the details you need are on a label stuck to the filter housing itself, not the cartridge.
- Measure It Up: If all else fails, a quick measure of the old cartridge's length and diameter will usually do the trick. That info, combined with the type of system you have (like an under-sink or benchtop model), is often enough to pinpoint a match.
The need for these cartridges is growing right across Australia. With a huge increase in new home construction—44,853 new dwellings were completed in the June 2024 quarter alone—more and more water purifiers are being installed. This, along with environmental factors in areas like Western Australia, means the demand for effective filtration and regular cartridge changes is only going up.
Compatibility is Not Negotiable
It can be tempting to save a few dollars with a generic or non-certified filter, but that's often a false economy. A badly designed O-ring or an incorrect end-cap can easily compromise the seal, making your entire filtration system pretty much useless. When looking at different systems, you'll notice specific requirements; for example, a guide to BRITA integrated water filter taps will highlight the exact cartridges needed, reinforcing just how important a perfect match is.
Sticking with the manufacturer-recommended cartridge guarantees a perfect fit, top performance, and your own peace of mind. It’s the easiest way to make sure you're getting the clean, safe water you paid for in the first place.
Here at Awesome Water®, we keep things simple. We offer specifically designed cartridges for every single system we sell, taking all the guesswork out of the equation. Whether you have a benchtop, under-sink, inline, or water cooler system, we have the right fit for you.
You can find our complete collection of Awesome Water® replacement filters online. We even offer handy bulk packs to help you save some money and ensure you’re always ready for your next scheduled filter change.
Troubleshooting Common Replacement Problems
Even the most straightforward water filter cartridge replacement can hit a snag every now and then. But before you get frustrated and start looking up a plumber’s number, take a breath. Most common issues are surprisingly easy to fix yourself.
Let's walk through the top three problems I see all the time and how you can solve them in just a few minutes.
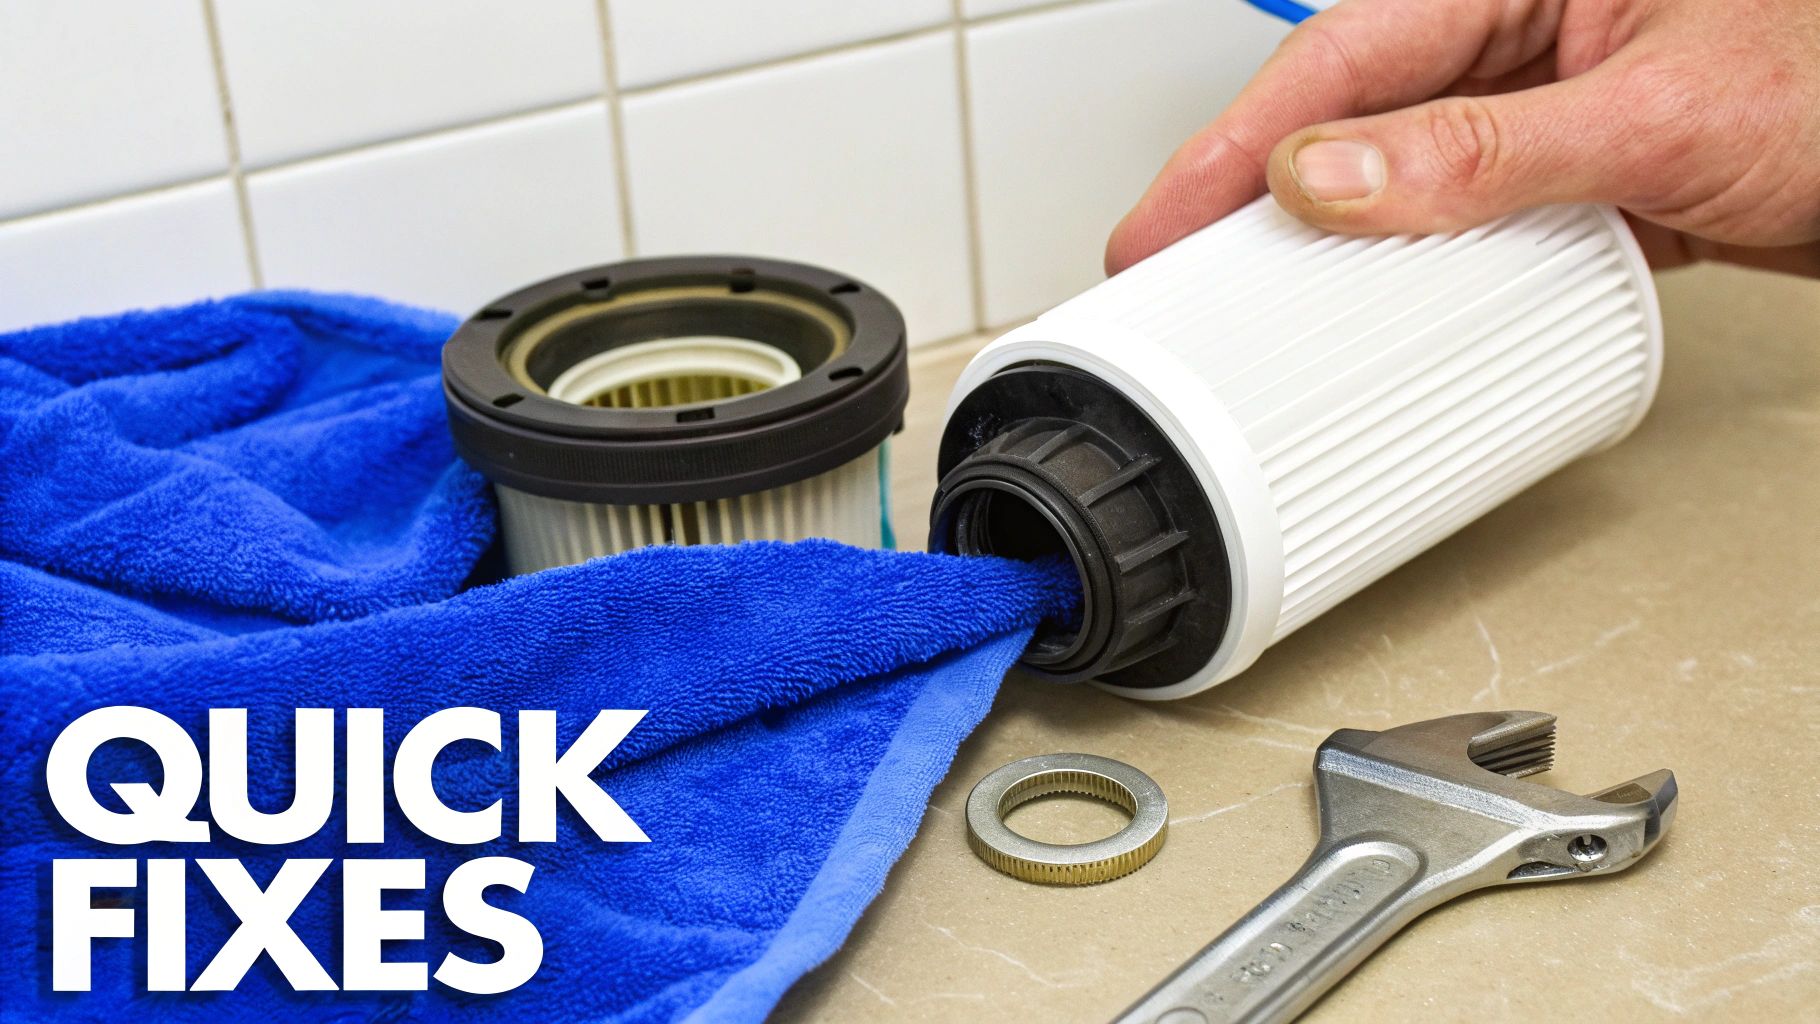
That Stubborn, Stuck Filter Housing
This is easily the most common headache. You’re ready to pop the new cartridge in, but the filter housing just won't budge, no matter how much muscle you put into the spanner. Whatever you do, don't just keep forcing it—you could easily crack the plastic housing.
The culprit is usually a combination of lingering water pressure and an O-ring that’s dried out over time, creating a ridiculously stubborn vacuum seal.
Here’s how to deal with it:
- Double-check the pressure. Are you absolutely sure you’ve released all the pressure? Open the dedicated filter tap and let it run until the water stops completely. Even a tiny bit of leftover pressure can make the housing feel like it's glued on.
- Use a little gentle heat. Sometimes, a bit of warmth is all you need to expand the housing just enough to break that seal. Soak a cloth in hot water, wring it out, and wrap it around the housing for five to ten minutes before giving it another go.
- Plan ahead for next time. Once you do get it open, apply a tiny amount of food-grade silicone grease to the O-ring before you screw it back on. This simple step will make your next filter change a breeze.
The Slow Drip After You’ve Finished
Okay, so you’ve installed the new cartridge, turned the water back on, and everything seems perfect… until you spot it. A slow, persistent drip from the top of the housing. This is almost always an O-ring issue.
The O-ring is the single most important part of getting a leak-free seal. If it’s dirty, pinched, damaged, or not seated correctly in its groove, it will absolutely cause a leak.
Don’t panic. Just turn the water off again and release the pressure. Carefully unscrew the housing and take a close look at the black rubber O-ring. Is there any grit or debris on it? Is it sitting perfectly flat and secure in its channel?
Most of the time, just wiping it clean with a cloth, making sure it's seated properly, and screwing the housing back on will solve the problem.
Sputtering Taps and Cloudy Water
After you’ve finished a replacement, it’s completely normal for the tap to sputter and spit with air for a minute or two. The water might also come out looking cloudy or milky. This can look alarming, but it’s nothing to worry about.
The sputtering is just trapped air being pushed out of the lines and the new filter cartridge. That cloudiness? It's just thousands of microscopic air bubbles, not contaminants.
All you need to do is let the tap run for a few minutes. Both issues should clear up completely, leaving you with nothing but clear, great-tasting water.
What to Do with Old Cartridges & Long-Term System Care
Once your new filter is happily in place, the last piece of the puzzle is dealing with the old one and setting your system up for a long, healthy life. A proper water filter cartridge replacement isn't really finished until you've responsibly handled the old unit.
Before you bin it, let the old cartridge air-dry for a couple of days. This simple step saves you from a soggy, dripping mess later. Once it's dry, just wrap it in a sealed bag and pop it into your general household rubbish.
Sustainable Disposal and System Care
Here's the tricky part: most local council recycling programs in Australia won't take used water filter cartridges. This is because they're made of mixed materials and are full of the contaminants they've worked so hard to trap. That said, some manufacturers are starting to look into take-back programs, so it never hurts to check their websites for any updates.
The Australian water purifier market is booming and expected to hit a value of USD 260.76 million by 2029. This growth is a double-edged sword—it means more awareness around water quality but also a bigger environmental footprint from disposable parts. As a result, companies are being pushed to find greener solutions, though we're still waiting on widespread, robust recycling options.
Being proactive with maintenance is the secret to both performance and sustainability. A system that's looked after doesn't just give you clean water; it makes all its components last longer, which means less waste over time.
For anyone who looks after multiple properties, like a rental, you already know how vital routine upkeep is. Thinking about managing your vacation rental property effectively shows just how much small, regular checks protect your investment. The same logic applies to your water filter.
Regular care, along with understanding your warranty, is key. Services like those from Awesome Water® are here to offer support and keep your system running perfectly for years to come. For more practical tips, have a look at our guide on how to maintain a water filter to prolong its life.
Frequently Asked Questions
Got a few more questions? You're not alone. Here are some quick, no-nonsense answers to the most common queries we hear about changing water filter cartridges.
How Can I Be Sure I Have Installed the New Cartridge Correctly?
You’ll know you’ve nailed the installation by looking for a few tell-tale signs. Once you've turned the water back on, the most critical check is for leaks. Give it a good look around the filter housing and any connections—there should be zero leaks. Let the water run for a couple of minutes and double-check.
Next, your water pressure should feel familiar, returning to its normal strength. And finally, after you’ve flushed the new cartridge according to its instructions, the water should be running perfectly clear and taste fresh. No cloudiness, no weird odours, just clean water.
Is It Okay to Use a Generic Brand Cartridge?
Look, I get it. It seems like an easy way to save a few dollars. But using a generic cartridge is a gamble, and one that rarely pays off. The biggest issue is the fit. They often don't create that perfect, airtight seal inside the housing, which means unfiltered water can just bypass the filter media entirely.
Beyond the poor fit, the quality of the filtration material itself is often a step-down, so it won't be nearly as effective at grabbing contaminants. To guarantee your system works as it should and to keep your warranty intact, it’s always best to stick with the manufacturer-specified cartridge for your water filter cartridge replacement.
A proper seal is non-negotiable for effective filtration. An ill-fitting generic filter might as well not be there at all, as it can allow contaminants to flow straight to your tap.
What Actually Happens If I Do Not Replace My Filter on Time?
Putting off a filter change can cause a cascade of problems. First, you'll notice the frustration of slow-running taps. As the filter gets clogged with sediment and other gunk, it drastically reduces your water flow.
But more importantly, the filter just stops doing its job. The media becomes so saturated that it can't capture any more impurities. That means things like chlorine, heavy metals, and even bacteria could be slipping right through into your drinking water. Worst-case scenario? An old filter can become a breeding ground for bacteria, potentially making your water quality even worse than straight-from-the-tap.
Ready to ensure your water is always clean, safe, and great-tasting? Trust Awesome Water® for all your filtration needs. Explore our full range of genuine replacement cartridges and enjoy the peace of mind that comes with a perfect fit, every time. Visit us online at https://www.awesomewater.com to find your filter today.