

It's easy to forget about your Awesome Water® filter, but the signs it needs changing are often right there in plain sight. A sudden strange odour, a noticeable change in taste, or a slower flow rate are all tell-tale signs that your filter has done its job and is ready for a replacement.
Recognising the Signs for a Water Filter Replacement
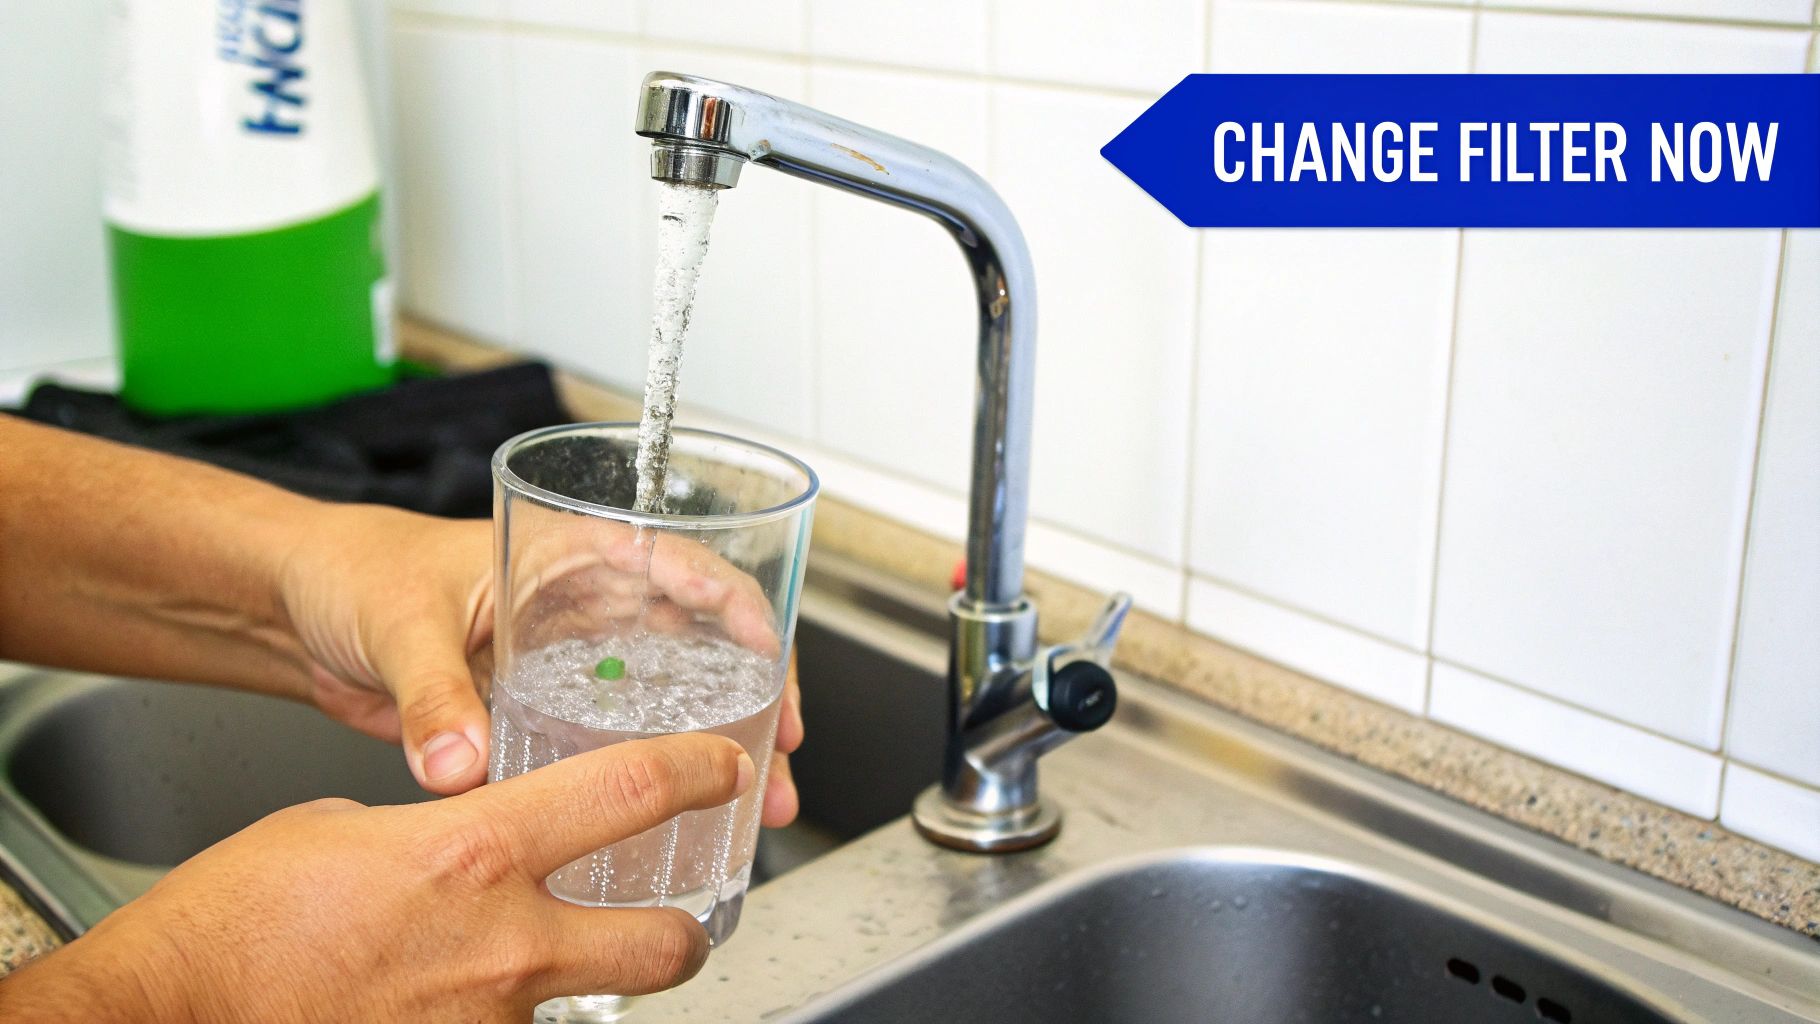
It’s tempting to try and squeeze a few extra weeks out of your filter, but the clues it gives you are your best guide for keeping your water clean and safe. Your own senses are usually the first to let you know a water filter replacement is due.
Changes in Taste and Smell
The most obvious sign is a change in your water's taste. If that crisp, clean flavour you’re used to has been replaced by something metallic, chemical, or just plain 'off', the filter's activated carbon is likely saturated.
Along the same lines, an earthy or chlorine-like smell means the filter is no longer doing its job of removing those impurities effectively. I once had a customer who came back from a long weekend and said their water tasted awful. A quick check showed the filter was well overdue for a change—the immediate difference in taste was all the proof they needed.
Reduced Water Flow
Is your water dispenser trickling out slower than it used to? A clogged filter is almost always the culprit here. As the filter traps sediment, minerals, and other contaminants over time, the pathways for water get blocked up. This slowdown is a clear signal that the filter has reached its capacity and needs to be swapped out.
A saturated filter doesn't just affect taste and flow. If left unchanged, it can become a breeding ground for bacteria, which could end up re-contaminating the very water it's meant to be purifying.
To make things easier, here's a quick guide to help you spot the signs.
Filter Replacement Quick Reference Guide
| Indicator | What to Look For | Typical Timeframe |
|---|---|---|
| Taste & Odour | Water tastes metallic, earthy, or like chlorine. A noticeable "off" smell. | 6-12 months |
| Water Flow | Dispenser flow is significantly slower than usual. | 6-12 months |
| Cloudiness | Water appears consistently cloudy (not just air bubbles). | Varies |
| Calendar Reminder | It's been over 6 months since the last change. | 6-12 months |
This table should give you a solid idea of what to watch for and when.
Following Manufacturer Guidelines
Awesome Water® recommends changing your filters every six to twelve months. This isn't just a random suggestion; it's based on the filter's capacity to absorb contaminants effectively and keep your water tasting great.
Here in Australia, you can expect replacement filter cartridges for most popular systems to need changing every 6–12 months. This usually adds up to an annual cost of about AUD 50–150.
Sometimes, water might look a bit cloudy, which can be concerning. While this is often just harmless air bubbles, it’s good to know what causes it. If you're wondering if it is ok to drink cloudy tap water, our guide has some helpful answers.
Getting the Right Filter and Tools Ready
There’s nothing worse than turning a simple job into a frustrating back-and-forth trip to the hardware store. A smooth water filter change all comes down to getting your gear and the correct parts lined up before you start. It’s all about being prepared.
First up, the tools. The good news is the list is short and sweet, and you probably have everything already.
- Filter Wrench: This little lifesaver often comes with your system. If you've misplaced it, getting a compatible one is a must for loosening a stubborn, tight housing.
- A Few Old Towels: Let's be realistic, some water is going to spill. It just is. Have a few towels ready to pop under the filter unit to catch any drips.
- A Bucket or Bowl: This is perfect for catching that last bit of water that will inevitably come out of the housing when you unscrew it.
Finding the Correct Cartridge
Now for the most important bit: grabbing the right replacement filter. Slotting in a generic or incompatible cartridge can cause leaks, lead to poor filtration, or even damage your Awesome Water® system. You've got to make sure the new filter is a perfect match for your model.
Your system's model number is your golden ticket here. It's usually on a sticker on the filter head or housing. I always tell people to snap a quick photo of the old filter cartridge and its label before they even think about ordering a new one. It's a simple habit that has saved me countless headaches over the years.
Think about it this way: choosing the wrong filter type, like a simple sediment filter when you actually need a carbon block, means you won't fix those taste and odour issues. Making sure you have the correct water filter replacement cartridge is the only way to get the purified, fantastic-tasting water you're paying for.
Getting this part right is absolutely crucial for keeping your water quality high. For a deeper dive, check out our guide with important tips to follow when purchasing a water filter to make sure you're completely set.
Your Guide to Changing a Water Filter Cartridge
Changing your water filter cartridge is one of those simple but essential maintenance jobs. Honestly, it's a breeze once you've done it once. I'll walk you through the whole process, step by step, so you can get your Awesome Water® system flowing with fresh, clean water in no time.
First things first: safety. Before you even touch the filter housing, you need to cut the water supply. Find the inlet valve—it's usually a small handle on the pipe feeding into your system—and give it a firm turn to the 'off' position.
With the water off, the next step is to release the built-up pressure inside. Most units have a small red pressure-relief button right on top of the filter housing. Press it and hold it down. You'll hear a hissing sound as the pressure escapes. Once the hissing stops, you're good to go. This one little step makes unscrewing the housing a whole lot easier and saves you from a surprise shower.
This infographic shows the basic tools you'll need to get the job done.
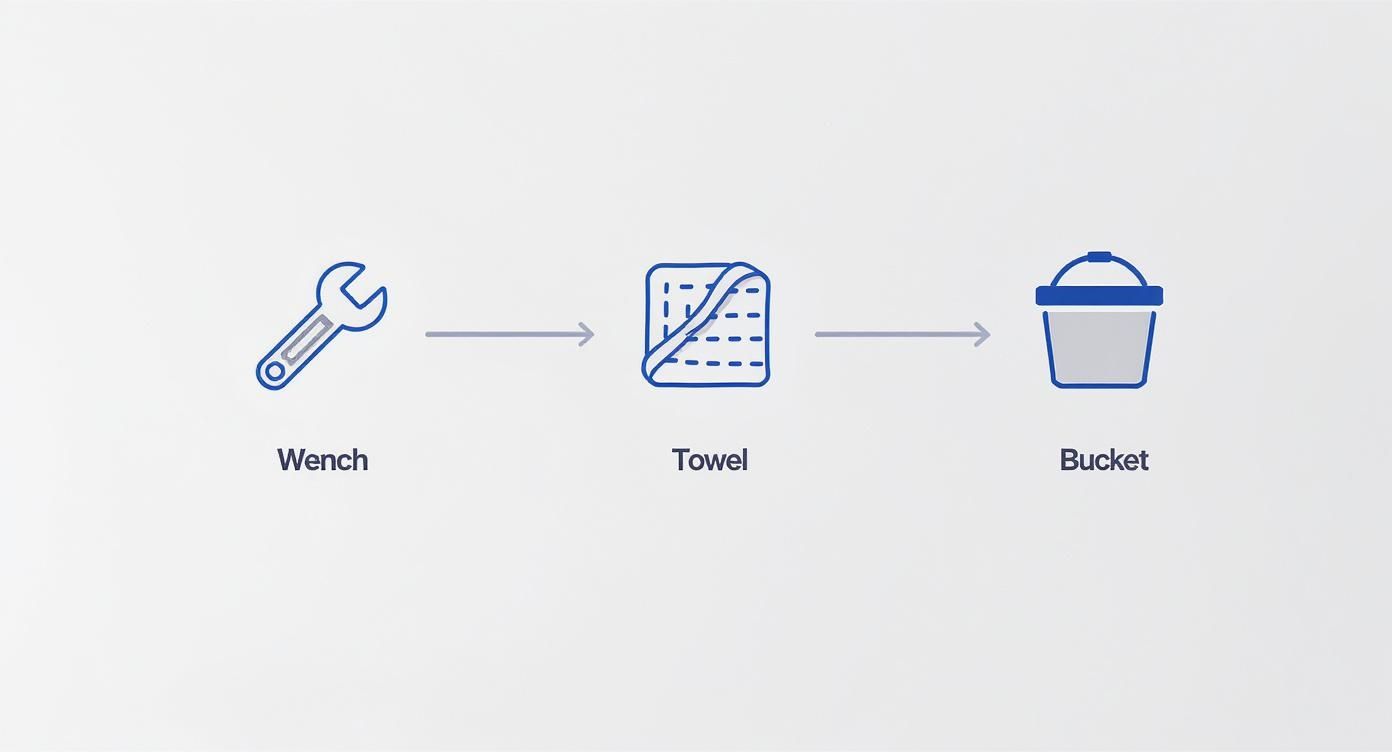
Having these simple items ready before you start turns the job into a smooth, ten-minute task.
Removing the Old Filter
Go ahead and place a bucket or some old towels under the filter unit to catch any drips. Now, grab your filter wrench and fit it around the housing. Turn it counter-clockwise (to the left) to loosen it. If it feels a bit stuck, just apply some slow, steady pressure. It'll give. Once it's loose, you can finish unscrewing it by hand.
Carefully lower the housing and take out the old filter cartridge. Tip out any water left inside.
While it's open, this is the perfect opportunity for a quick clean. Just wipe the inside of the housing with a clean cloth and a little bit of soapy water to get rid of any slime or sediment that might have built up.
Pro-Tip: Take a close look at the black rubber O-ring at the top of the housing's threads. Gently remove it, wipe it clean, and then apply a thin layer of food-grade silicone lubricant. This little trick is a game-changer—it ensures a perfect, leak-free seal and stops the O-ring from drying out and cracking over time.
Installing the New Cartridge
Unwrap your fresh Awesome Water® filter and pop it inside the clean housing. You'll want to make sure it's sitting properly on the standpipe at the bottom so it stands straight and tall.
Now, carefully screw the housing back onto the filter head by hand, turning it clockwise until it's snug. Resist the urge to crank it super tight with the wrench! Overtightening can easily damage the threads or the O-ring. A good hand-tight turn is all you need for a solid seal.
This is also a great time to ensure your filter replacement process is safe. You can learn more by checking out our guide on how to safely change an Awesome Water® filter. Following these steps ensures your system works perfectly.
The Final Checks After Changing Your Filter
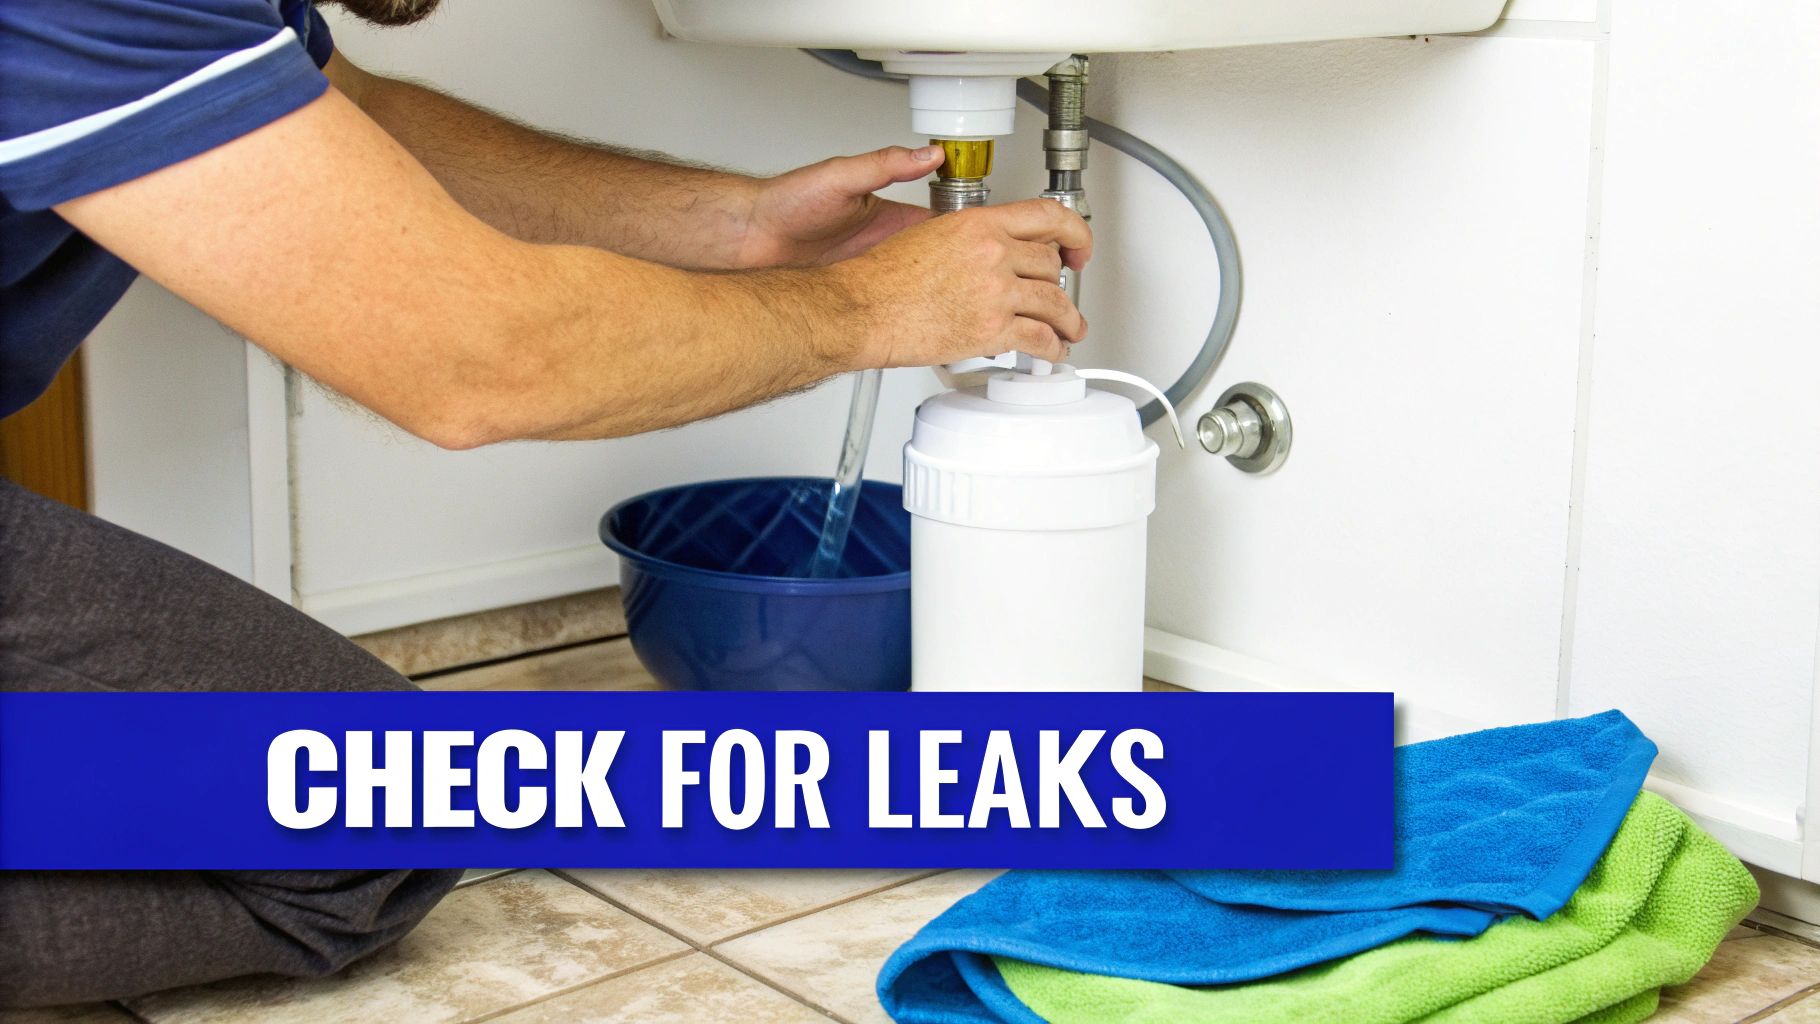 Okay, the new filter cartridge is in place. You’re on the home stretch, but don’t rush these last few steps. Getting these final checks right is just as important as the installation itself to guarantee a perfect, leak-free result.
First thing’s first: turn the water back on, but do it slowly. Just crack the inlet valve open about a quarter of the way. This prevents a sudden blast of pressure—what plumbers call a 'water hammer'—which can shock your pipes and fittings. Give it a minute or two for the system to fill up gently before you open the valve all the way.
Now that the water is flowing again, it's time to play detective and hunt for any drips.
Inspect for Leaks
Grab a dry paper towel and carefully wipe around the filter housing, especially where it connects to the filter head. Even the tiniest drop of moisture will show up instantly on the paper.
If you spot a leak, don't panic. Turn the water off, relieve the pressure by dispensing some water, and double-check that the O-ring is sitting perfectly in its groove. Also, make sure the housing is screwed on snugly—firm, but not cranked on so tight you'll need a wrench to get it off next time.
Don't be tempted to skip this. A tiny, slow drip might seem harmless, but over weeks and months, it can lead to serious water damage, mould, and costly repairs. Taking an extra 60 seconds here is always worth it.
Flush Your New Filter
With everything confirmed to be dry and secure, there's one last crucial job: flushing the new filter. This is an essential part of any water filter replacement.
Brand-new activated carbon filters can release harmless carbon 'fines'—think of it as black carbon dust—when you first use them. Flushing gets rid of this and also purges any trapped air bubbles that can give your water a cloudy appearance.
Simply run the cold water from your dispenser for a solid five minutes. You’ll likely see some cloudy or discoloured water come out at first. This is completely normal! Just keep the tap running until it flows perfectly clear.
And that's it. Your Awesome Water® system is now primed and ready to deliver that pure, great-tasting water you love.
Troubleshooting Common Replacement Issues
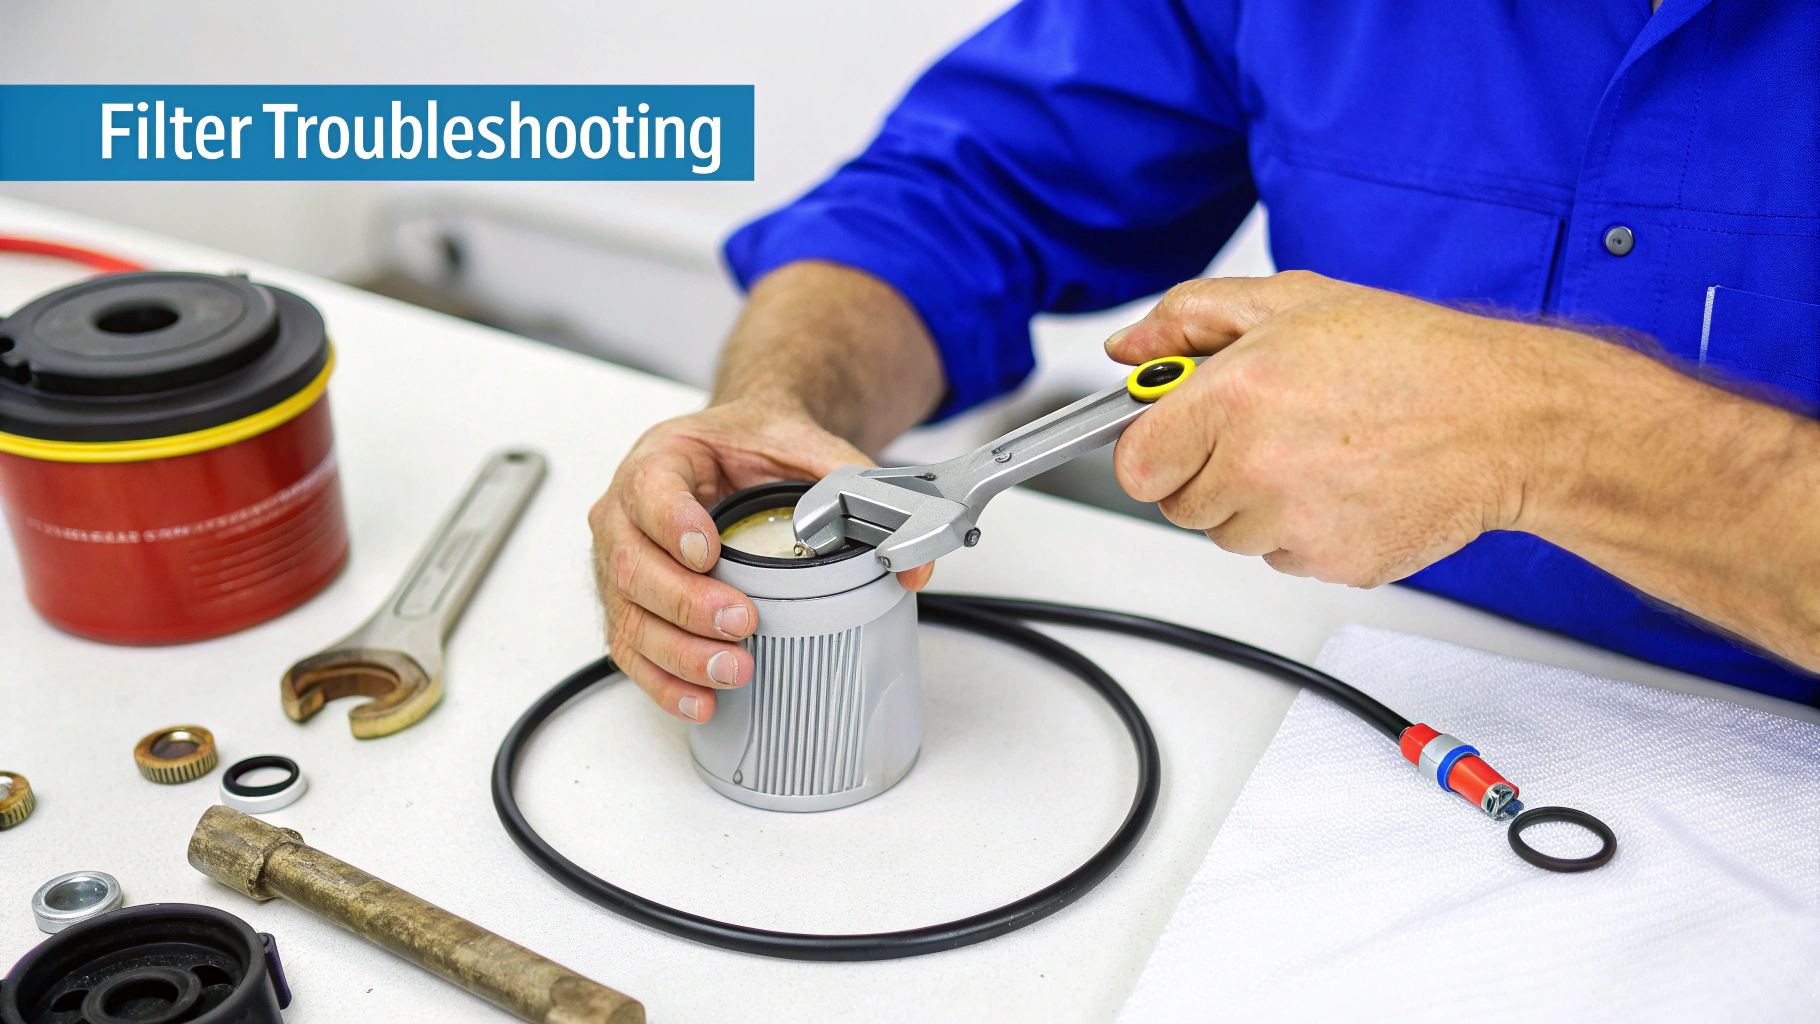 Even when you follow the instructions perfectly, a water filter replacement can sometimes throw a curveball. A stubborn drip, cloudy water, or a housing that just won't budge can be frustrating, but don't worry—these are common issues that usually have a simple fix.
A slow drip from the filter housing is probably the number one problem we hear about. Nine times out of ten, this comes down to the O-ring. It might not be seated correctly in its groove, it could have some debris on it, or it may not have been properly lubricated.
To fix it, just turn off the water, unscrew the housing, and check the O-ring. Make sure it’s clean, sitting snugly where it should be, and has a light coat of food-grade silicone grease.
If you’re facing a more serious leak, it could signal another issue. Our guide on why your water cooler is leaking has some excellent tips to help you pinpoint the source.
A word of caution: don't overtighten the housing to stop a leak! This can easily crack the plastic or damage the O-ring, making the problem much worse. A firm, hand-tight seal is all you need.
Dealing With Cloudy Water and Stuck Parts
It can be a bit alarming to see cloudy or milky water pour out right after a filter change, but it’s rarely a cause for concern. This is almost always just tiny air bubbles trapped in the new filter. Let the system flush for a few more minutes, and you'll see the water clear up completely.
But what if the filter housing is stuck and won’t budge? Before you reach for the heavy-duty tools, try running some hot water over the outside of the housing for a minute. The slight expansion is often just enough to break the seal, allowing you to loosen it with your wrench without a fight.
Common Questions About Water Filter Replacement
Even with the best instructions, it's natural to have a few questions pop up when it comes to changing your water filter. Let's run through some of the most common ones we hear from customers to make sure you're feeling completely confident.
How Often Should I Really Replace My Filter?
That six to twelve-month guideline is a great starting point, but the real answer depends on your specific situation. The two biggest factors are your local water quality and how much water your family or office actually uses.
If you're in an area with hard water or a lot of sediment, you'll probably find yourself closer to the six-month mark. The same goes for a big family that's constantly filling up bottles. The best advice I can give is to trust your senses. If you notice the water pressure dropping or the taste starts to seem a little 'off', it’s time for a new filter—no matter what the calendar says.
Can I Use a Generic Filter Cartridge?
Look, it’s always tempting to save a few dollars with a generic filter you find online, but I strongly advise against it. You really should stick with genuine Awesome Water® filters.
Our filters are designed to fit your system perfectly and are guaranteed to meet our strict filtration standards. Slapping in an off-brand cartridge can lead to all sorts of headaches, like poor performance, annoying leaks, or even voiding your system's warranty. It's just not worth the risk.
Putting off a filter change really leads to two main problems. First, the filter gets clogged with all the gunk it has been trapping, which slows your water flow to a trickle. More importantly, a saturated filter can't do its job anymore. It stops removing impurities and can even turn into a breeding ground for bacteria.
To get the full picture of the risks involved, check out our detailed guide on what happens if you don't change your water filter.
Ready to make sure your water is always fresh, pure, and genuinely awesome? For the real deal in high-performance filters designed specifically for your system, trust Awesome Water®. Shop our range of replacement filters today!