

Think of a drinking water testing kit as a first-aid kit for your pipes. It's a simple, powerful tool that lets you check the quality of your tap water right in your own home, giving you a quick snapshot of what your family is drinking.
Is Your Tap Water as Safe as You Think?
It’s easy to assume the water flowing from your tap is perfectly pure, especially in a country like Australia. While our municipal water treatment is among the best in the world, the journey from the treatment plant to your glass is a long one. And along that journey, hidden risks can creep in.
This guide is your practical resource for understanding what’s really in your water. Using a home drinking water testing kit is the first, most important step toward taking control of your family’s health and making smart decisions about your water supply.
Beyond the Treatment Plant
Once treated water leaves the municipal facility, a lot can happen before it reaches your kitchen sink. The infrastructure itself plays a huge part in the final quality.
- Ageing Infrastructure: We're talking about kilometres of underground pipes, some of which are decades old. Over time, they can degrade, creating opportunities for contaminants to seep into the supply.
- Lead Leaching: Older homes, particularly in established suburbs, might still have plumbing that contains lead. This toxic metal can leach into your water, and you’d never know it because it's invisible, odourless, and tasteless.
- Local Environmental Factors: Things like heavy rainfall, agricultural runoff, or nearby industrial activity can introduce pollutants that weren't there when the water left the plant.
It's not just the public network, either. Understanding the role of plumbing in home water safety is crucial, as even small issues within your own property's pipes can introduce contaminants right before the water hits your glass.
Why Regional Australians Are Taking Notice
That comforting assumption of pure tap water doesn't always hold up, especially once you get outside the major cities. Research has flagged real gaps in public water monitoring, which is why reliable at-home testing is becoming so popular.
A national analysis found that during the 2018–19 financial year, at least 194,572 people—mostly in regional and remote communities—were supplied with water that failed to meet Australian Drinking Water Guidelines (ADWG) for health at least once. When you add in aesthetic issues like poor taste or colour, that number jumps to over 627,000 people across 408 different locations.
These documented slip-ups show exactly why a home testing kit is such a vital tool, particularly for households outside major urban centres. It’s your first line of defence against threats you can’t see.
Getting familiar with the common toxins that may be in your water helps you know what to look for. This turns a simple test from a random check into a targeted investigation, empowering you to protect your family’s health with real confidence.
Choosing the Right Type of Water Testing Kit
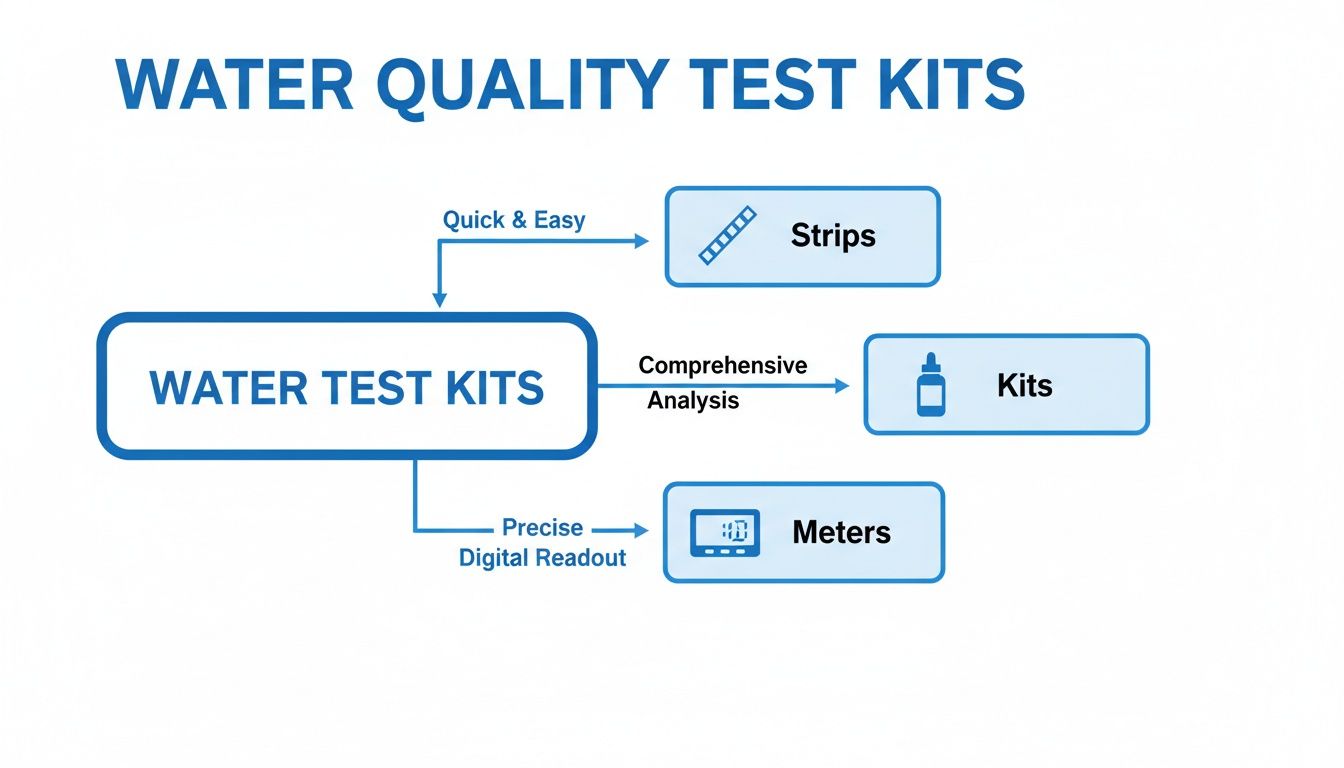
Picking the right drinking water testing kit can feel like choosing a tool for a job you're not quite sure how to do. With options that range from simple dip strips to fancy digital readers, it’s easy to get lost. The real trick is matching the tool to your specific concern. This way, you get clear, useful answers without spending a fortune.
Think of it like this: you wouldn't use a sledgehammer to hang a picture frame. In the same way, you don't need a full-blown lab analysis kit if you're just curious about the chlorine level in your town water. Let's break down the main players so you can choose with confidence.
Test Strips: The Quick Health Check
The most common and wallet-friendly option you'll find is the humble test strip. Think of these as your go-to for a quick, general overview of your water's health. They couldn't be simpler to use—just dip the strip in a water sample for a second, pull it out, and match the colours that appear against a chart on the packaging.
Test strips are perfect for keeping a regular eye on the basics. They give you a "yes/no" answer or a general range rather than a hyper-precise number, making them ideal for an initial screening.
- Best For: Checking things like pH, water hardness, chlorine, and nitrates.
- Ease of Use: Incredibly simple, with results showing up in just seconds or minutes.
- Accuracy: Good for spotting if something is present, but not for telling you the exact amount.
- Cost: Very budget-friendly, often coming in packs of 50 or 100 strips.
This makes them a great first step for anyone on a municipal supply who just wants a bit of peace of mind.
Colorimetric Kits: The Mini Chemistry Set
If you need a bit more detail and accuracy than what strips can provide, a colorimetric test kit is the next step up. These kits ask for a little more involvement, but they pay you back with more precise results.
You’ll typically add a special powder or liquid drop (a reagent) to a small vial of your water. This kicks off a chemical reaction that changes the water’s colour. From there, you just compare this new colour to a chart to figure out the concentration of a specific contaminant.
Think of colorimetric kits as giving you a more detailed diagnosis. A test strip might tell you that you have a fever, but a colorimetric kit can tell you your temperature is 38.5°C—a much clearer picture of what's going on.
These kits are especially handy for tracking down specific nasties that pose a health risk, like lead or certain bacteria, which basic strips often can't see.
Digital Meters: The Precision Instrument
For those who want immediate, exact, numerical readings, digital meters are the top choice. These handheld electronic devices are built to measure specific things with high accuracy. The most common type is a TDS (Total Dissolved Solids) meter, but you can also find them for pH, salinity, and temperature.
Using one is as easy as turning it on and dipping the sensor into your water. The result pops up on a digital screen almost instantly. While they cost more upfront, they are reusable and offer fantastic long-term value if you plan on doing regular monitoring.
A digital meter is like a specialist's tool. It won't give you a broad overview of every possible problem, but for the one thing it's designed to measure, it will give you an exceptionally accurate reading.
Comparing Common At-Home Water Testing Kits
To help you decide, here’s a quick rundown of how the most common home testing kits stack up against each other. Each has its place, depending on whether you need a quick spot-check or a precise measurement.
| Kit Type | Best For | Speed of Results | Relative Accuracy | Typical Cost |
|---|---|---|---|---|
| Test Strips | Quick checks of pH, chlorine, hardness | Seconds to minutes | Low to Moderate | Low |
| Colorimetric Kits | Specific contaminants like lead, bacteria | Minutes to hours | Moderate to High | Moderate |
| Digital Meters | Precise TDS, pH, or salinity readings | Instant | High | High (per unit) |
Ultimately, choosing the right kit comes down to your goal. Are you just doing a routine check-up, trying to figure out a strange taste, or worried about a specific health risk like heavy metals?
Many modern contaminants are invisible and need more advanced ways to be detected. You can learn more about one of these growing concerns in our detailed guide on microplastics in water. By figuring out what you want to find out first, you can pick the best and most cost-effective tool to make sure your water is safe and healthy.
How to Use Your Water Testing Kit for Accurate Results
Getting a reliable result from your drinking water testing kit isn't really about being a chemist. It’s all about following a few simple, but crucial, steps. Think of it like baking a cake—if you miss a step or get an ingredient wrong, the final product just won't turn out right. An accurate test is what turns a simple kit into a powerful tool you can trust.
This section is your go-to guide for getting it right the first time. We'll walk you through the entire process, from grabbing the perfect water sample to steering clear of the common mistakes that can completely throw off your results.
Preparing for a Flawless Test
A little bit of prep goes a long way before you even open the box. The goal here is to collect a water sample that genuinely represents what you drink every day, not water that's been sitting in your pipes all night.
First up, pick the right tap. Your kitchen cold water tap is usually the best choice, since that's what you use for drinking and cooking. Steer clear of the hot water tap, as hot water can leach more contaminants from your home's plumbing, giving you a skewed picture of your cold water supply.
Next, you'll need to flush the line.
- Turn on the cold water and let it run for a good 2 to 3 minutes. This clears out any stagnant water sitting in the pipes and pulls in a fresh sample from the main supply.
- While the tap is running, give your hands a thorough wash with soap and water. This is a small step, but it stops oils or bacteria on your skin from messing with the sample.
- If your kit came with a collection vial, have it ready. If not, grab a spotlessly clean glass. Whatever you do, don't use a container that's been washed with strong detergents or has any soap residue left in it.
The chart below shows the different types of gear you might be working with, from simple dip-and-read strips to more high-tech digital meters.
Whether you're using a basic strip or a fancy meter, remember that this initial sample collection is the foundation for everything that follows. Get it right, and you're on your way to a result you can count on.
The Testing Process Step by Step
With a fresh sample in hand, it's time to do the test. Always, always read the specific instructions that came with your kit, because the exact timings and steps can vary.
For test strips, the process is usually pretty simple. Just dip the strip into the water for the recommended time (often just a few seconds), pull it out, and don't shake it. Hold it horizontally to stop the colours from bleeding into each other.
For colorimetric kits that use droppers or tablets, you need to be precise. Fill the little vial to the marked line, add the exact number of drops or tablets specified, pop the cap on, and mix gently. These chemical reactions need a set amount of time to develop, so set a timer.
Crucial Tip: Try to read your results in good, natural daylight, but keep them out of direct sun. Artificial lighting can play tricks on your eyes and change how you see the colours on the test strip or in the vial, which can lead to a completely wrong reading.
Common Mistakes to Avoid
Even with the best intentions, tiny errors can ruin a test. Knowing what to watch out for is the easiest way to make sure your results are dependable.
- Touching the Test Pads: The little pads on test strips are coated with sensitive chemicals. The natural oils on your fingers can contaminate them in an instant. Always hold the strip by the plastic end.
- Waiting Too Long: Most tests have a strict window for reading the results, like "read at 60 seconds." If you wait too long, the colours can keep developing and getting darker, giving you a falsely high reading and unnecessary panic.
- Using a Dirty Container: Any little bit of residue in your collection glass—from soap to old coffee—will contaminate the sample and make the test worthless. Always start with a perfectly clean container.
- Testing Stale Water: Using water that's been sitting in your pipes overnight gives you a reading of your plumbing, not your water supply. Don't forget to flush that tap first.
By following these simple guidelines and avoiding these common slip-ups, you can be confident that the results from your drinking water testing kit are giving you a true and useful picture of your water quality.
Making Sense of Your Water Test Results
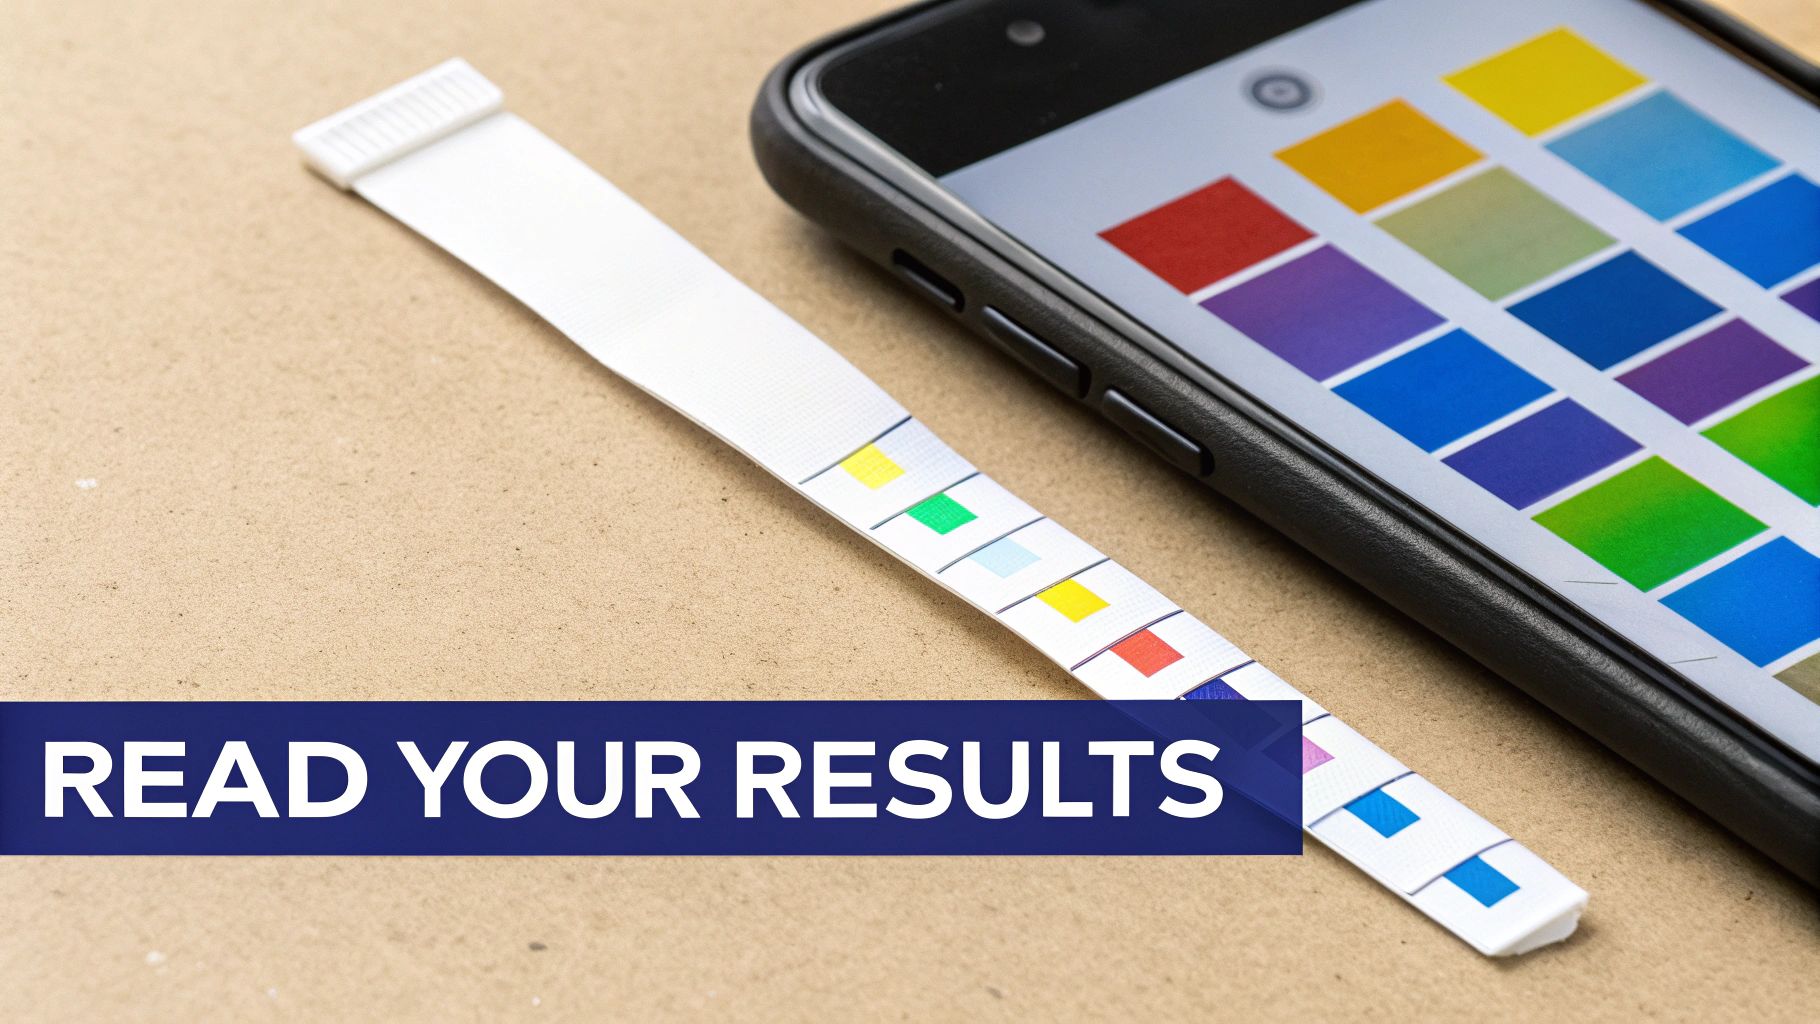
You’ve done the test, followed the instructions to the letter, and now you’re staring at a row of coloured squares or a digital readout. So, what does it all mean for your family’s health?
Figuring out the results can feel a bit like trying to read a foreign language at first. But once you know what to look for, you can quickly turn those confusing colours and numbers into clear, actionable information. Let’s break it down so you can decide your next steps with confidence.
Decoding Common Water Quality Parameters
At-home kits are great for checking a core set of common water quality indicators. Each one tells a unique story about your water’s journey from the source to your tap.
Here are some of the most frequent measurements you’ll come across:
- pH Level: This measures how acidic or alkaline your water is on a scale of 0 to 14. A reading of 7 is neutral. The Australian Drinking Water Guidelines (ADWG) recommend a healthy range of 6.5 to 8.5. Water that’s too far outside this range can have a bitter or metallic taste and might even start to corrode your pipes.
- Total Hardness: This is all about the concentration of dissolved minerals, mostly calcium and magnesium. It’s not a health risk, but "hard" water is what causes that annoying limescale buildup in your kettle and appliances. It also leaves spots on your dishes and stops soap from lathering up properly.
- Total Chlorine: Your local council adds chlorine to the water supply to kill off nasty bacteria and viruses. It’s essential for safety, but too much of it can leave your water with that classic "swimming pool" taste and smell. A quick test will tell you if the levels are in a pleasant range.
These initial checks give you a fantastic baseline. If you want to get into the weeds on one of these core metrics, our guide on understanding water pH levels is a great next step.
Identifying Potential Health Concerns
Beyond the general stuff, your test kit might also screen for contaminants that carry more serious health implications. Finding any trace of these should be a clear signal to take action.
- Lead: Let’s be clear: there is no safe level of lead in drinking water. This toxic heavy metal can leach from old plumbing, solder, and brass fittings, posing a serious danger to brain development in children. If your test flags lead, you need to investigate further, fast.
- Nitrates: High nitrate levels are often linked to agricultural runoff from fertilisers and can be a real concern for infants under six months old and pregnant women. The ADWG sets the maximum allowable level at 50 milligrams per litre (mg/L).
- Bacteria: Some kits test for coliform bacteria. Think of these as an indicator—if they’re present, it means other harmful, disease-causing organisms could be in your water too. A positive result means your water isn’t safe to drink without treatment.
Think of your home test kit as a smoke alarm. It doesn’t put out the fire, but it gives you that crucial early warning you need to act before a small issue becomes a big problem.
From Results to Actionable Next Steps
Once you've compared your results to the reference chart, you can sort them into three simple categories: "All Clear," "Consider Action," or "Investigate Further." This helps you cut through the noise and make a clear decision.
1. All Clear (Results are within safe limits)
If your test results are all comfortably within the guidelines recommended by the ADWG, you can relax. Based on what you’ve tested for, your water is likely safe to drink.
2. Consider Action (Minor aesthetic or hardness issues)
Did your test show very hard water or slightly high chlorine? These aren't health emergencies, but they do affect the taste, smell, and feel of your water. This is where you might look at a simple solution like a shower filter to protect your skin and hair, or a benchtop water filter to improve the taste of your drinking water. When making sense of your water test results, it’s also useful to think about how household appliances might be affecting your water; for more on that, check out this guide on understanding the effects of water softeners.
3. Investigate Further (Health-related contaminants detected)
This is the big one. If your kit flags lead, nitrates, bacteria, or other serious contaminants, it’s a red flag that needs immediate attention. Your first step should be to stop drinking the water. The next is to arrange for professional laboratory testing to confirm the result and find out the exact concentration. A NATA-accredited lab will give you a definitive analysis, which is essential before you contact your water authority or invest in a serious whole-house filtration system.
Key Water Quality Concerns for Australians
Water quality in Australia is far from a one-size-fits-all story. From the red dirt of the Outback to bustling coastal cities, the challenges your water faces can be dramatically different depending on your postcode. Nailing down these local issues is the first step to choosing the right drinking water testing kit and knowing exactly what you’re looking for.
Think of a home test kit as your first line of defence. It gives you a vital snapshot of what's really in your glass, helping you screen for problems specific to your area before they become a bigger health concern.
Urban Versus Rural Water Challenges
The journey your water takes from its source to your tap determines the risks it might pick up along the way. If you're in a city, the main worries often start closer to home. But for those in rural areas, the potential problems often come straight from the source.
Common Urban and Suburban Concerns:
- Lead from Ageing Plumbing: A surprising number of older Australian homes, especially those built before the late 1980s, still have lead solder in their plumbing. This toxic metal can leach silently into your drinking water, posing a serious health risk you can't see, taste, or smell.
- Copper from Pipe Corrosion: Just like lead, copper pipes can corrode over time, particularly if the water's pH balance is off. This can leave a metallic taste in your mouth and, at high levels, lead to nasty gastrointestinal issues.
- Disinfection By-products: While chlorine is a necessary evil for killing off nasty pathogens in the water supply, it can react with organic matter to create compounds that may carry long-term health risks.
Common Rural and Regional Concerns:
- Nitrates in Bore Water: Runoff from fertilisers and septic systems is a major issue, seeping into groundwater and spiking nitrate levels in private bores. This is a massive health concern, particularly for infants.
- High Salinity and Hardness: Bore water is often packed with dissolved salts and minerals, making it "hard." This isn't just about taste—it can wreck your appliances and leave your skin and hair feeling dry and brittle.
- Bacterial Contamination: Private water sources like bores and rainwater tanks don't get the municipal treatment treatment. This leaves them wide open to contamination from E. coli and other bacteria, especially after heavy rain or if they aren't properly maintained.
Emerging Contaminants on the Radar
Beyond the usual suspects, a new wave of water quality issues is getting more attention across the country. These emerging contaminants often need more specific tests to be found and are a big reason why more Aussies are taking water quality into their own hands.
One of the biggest threats we're now facing is PFAS (per- and polyfluoroalkyl substances). Often dubbed "forever chemicals," these compounds have been used in everything from firefighting foam to non-stick pans. The problem is they don't break down, and they've been found in water sources near industrial sites, airports, and military bases all over Australia.
The Australian Drinking Water Guidelines (ADWG) are a great safety framework, but that's all they are—guidelines. Your home testing kit is the tool that tells you what the water quality actually is when it comes out of your tap. It closes the gap between the public standard and your personal peace of mind.
It's also worth remembering that regulations and what's considered an "acceptable limit" here can be wildly different from international standards. You can learn more about how Australian guidelines for certain carcinogens stack up against other countries in our detailed article here.
When to Call in the Professionals
While a home drinking water testing kit is a fantastic screening tool, some situations just need a more powerful lens. If your home test flags something serious like lead or bacteria, or if you're worried about something specific like PFAS, your next call should be to a professional lab.
Make sure you look for a laboratory accredited by the National Association of Testing Authorities (NATA). NATA accreditation is the gold standard in Australia, guaranteeing the lab meets incredibly strict quality and competency standards. A NATA-certified report gives you legally defensible results you can take to your local water authority or use to choose the right whole-house filtration system. It's the final, crucial step to taking complete control over your family's water safety.
Common Questions About Home Water Testing
Even with all the information at your fingertips, you might still have a few lingering questions about using a drinking water testing kit. That's perfectly normal. To wrap things up, we've gathered some of the most common queries we hear from Australian households just like yours.
Let's tackle those practical, real-world concerns to give you the final boost of confidence you need to take charge of your home's water quality.
How Often Should I Test My Water at Home?
There’s no single, one-size-fits-all schedule here—the right frequency really depends on where your water comes from. But there are some solid guidelines you can follow to stay ahead of any potential issues.
For most homes hooked up to the town or city water supply, an annual test is a fantastic baseline. It's also a smart move to test any time you notice a sudden change in your water's taste, colour, or smell.
If you rely on a private source like a well, rainwater tank, or bore water, you need to be much more vigilant.
- Annually for Bacteria and Nitrates: These are common and serious risks in private water sources, and levels can shift with the seasons or changes in nearby land use.
- Every Few Years for Other Chemicals: A broader chemical screen every two to three years helps you track things like heavy metals or salinity over time.
- After Major Events: Always test your water after events like significant flooding, nearby construction, or long periods of drought. These can dramatically alter your water's composition.
Will a Home Test Kit Find Every Possible Contaminant?
In short, no. A home drinking water testing kit is a fantastic screening tool, but it does have its limits. Think of it like a GP for your water—it's brilliant at spotting common problems and flagging when you need to bring in a specialist.
These kits are excellent for identifying common parameters like chlorine, pH, hardness, lead, and certain bacteria. However, they aren't designed to detect more obscure or emerging nasties like trace pharmaceuticals, specific pesticides, or "forever chemicals" like PFAS.
A home test kit is your first alert system. It empowers you to quickly and affordably check for the most frequent offenders. If it raises a red flag, or if you have a specific concern it can't address, a professional lab test is the essential next step for a definitive diagnosis.
Is a More Expensive Testing Kit Automatically Better?
Not necessarily. The price tag on a testing kit is usually linked to two things: how many different contaminants it tests for, and the precision of its results. The "best" kit isn't always the most expensive one; it's the one that’s right for your specific needs.
For example, if your only concern is the taste of chlorine in your city water, a simple, affordable pack of test strips is the perfect tool for the job. There's no point forking out more for a complex kit that tests for agricultural nitrates you're highly unlikely to have.
On the other hand, if you live rurally and use bore water, investing in a more comprehensive kit that screens for heavy metals and bacteria is a much smarter choice. It’s all about matching the kit’s capabilities to your genuine concerns, not its price to your budget.
My Water Looks and Tastes Fine—Why Should I Bother Testing?
This is one of the most important questions, and the answer is simple: many of the most dangerous water contaminants are completely undetectable to our senses. They are silent threats, and you'd never notice them until it's far too late.
Contaminants like lead, arsenic, E. coli, nitrates, and PFAS are all invisible, tasteless, and odourless. Just relying on your senses can give you a false, and potentially dangerous, sense of security about the water your family consumes every single day.
Regular testing is the only reliable way to be certain about what's really in your water. Another common issue households face is high fluoride levels, which are also tasteless and odourless. You can find detailed information in our guide on how to remove fluoride from water if that's a specific concern for you. Testing gives you proof, not just hope, that your water is safe.
Ready to take the guesswork out of your water quality? Awesome Water® offers a range of reliable water filtration solutions designed to tackle common Australian water concerns, giving you pure, great-tasting water straight from the tap. Ensure your family's health and peace of mind today at https://www.awesomewater.com.